Beginner Watercolor Landscape Tutorial
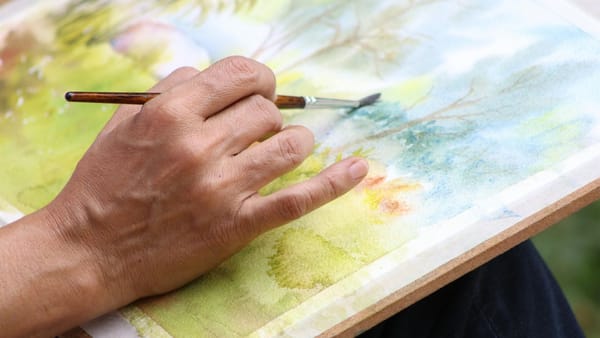
Join me for a beginner watercolor landscape tutorial and discover the art of painting scenic beauty with vibrant colors and boundless creativity.


Watercolor landscape painting is difficult! Even for the most experienced artists things can go wrong even though much thought has been given to it before paint hit the paper. But, when that happens it’s best to use inferior works as a learning tool!
That’s what this watercolor landscape tutorial is all about. I’ll walk you through how I critique a bad painting and prepare to recreate it. Watch the video below and then we will recap what happened and look at the new finished landscape.