Ultra Loose Watercolor Landscape Video Tutorial
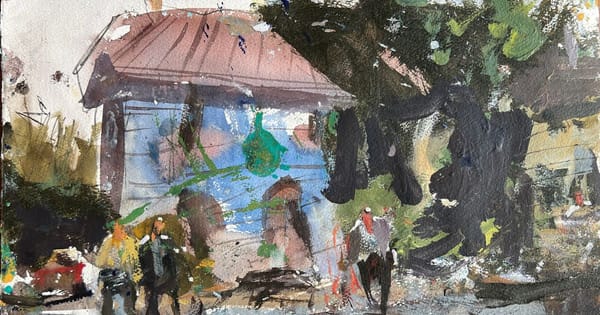
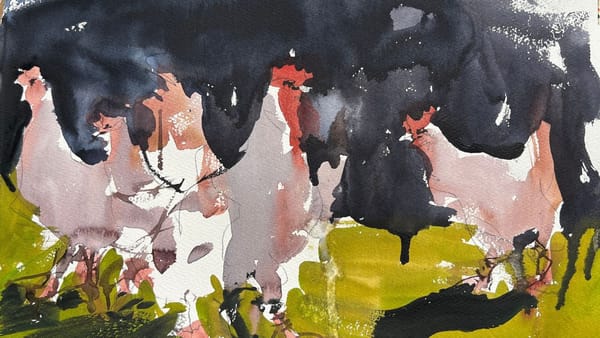
View this ultra loose watercolor landscape video tutorial that will inspire you to let go of perfection and embrace the expressive freedom.
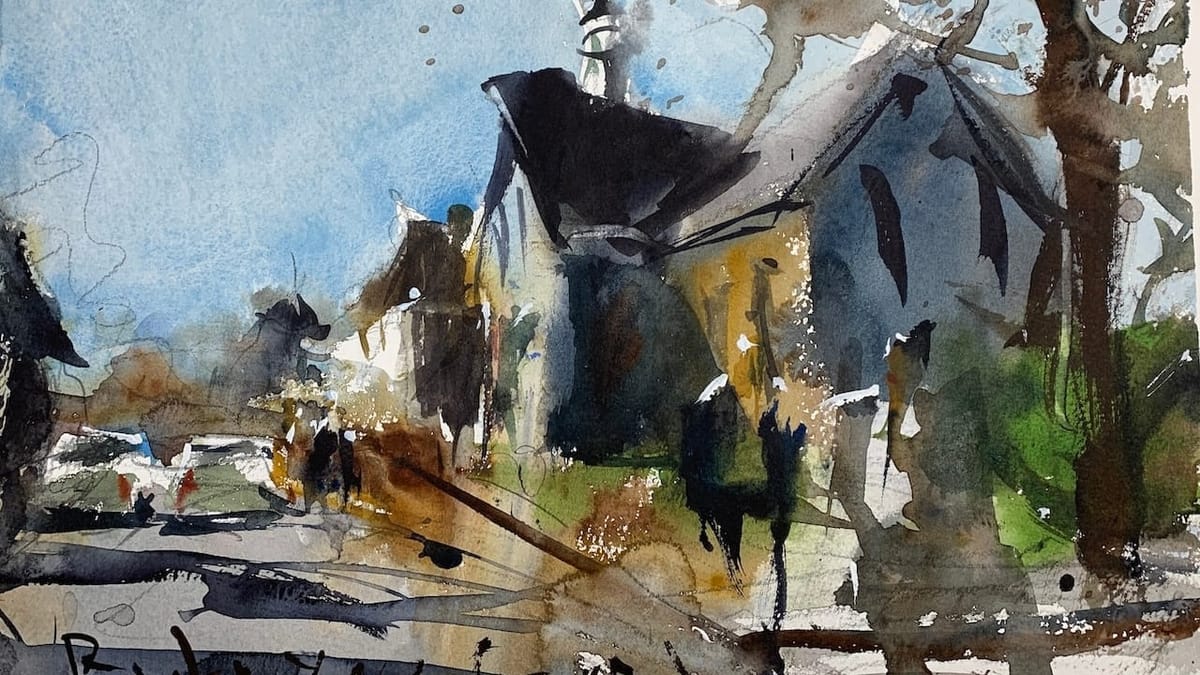
Welcome to another ultra loose watercolor video tutorial! In this instructional video, I will guide you through the mesmerizing world of creating vibrant watercolor paintings with a loose and expressive style. Whether you’re a beginner or a seasoned artist, this tutorial will inspire you to let go of perfection and embrace the freedom of creating art with fluidity and spontaneity.
Materials needed for ultra loose watercolor painting
To get started with ultra loose watercolor painting, you will need a few essential materials. Here’s a list of what you’ll need:
- Watercolor paints: Choose a high-quality set of watercolor paints in a variety of colors. Opt for artist-grade paints for better pigmentation and vibrancy.
- Watercolor paper: Use heavyweight watercolor paper that can withstand the wetness of the paint. Rough or cold-pressed paper works best for achieving texture and depth in your paintings.
- Brushes: Invest in a range of brushes with different brush tips and sizes. Flat brushes are great for creating broad strokes, while round brushes are ideal for adding details.
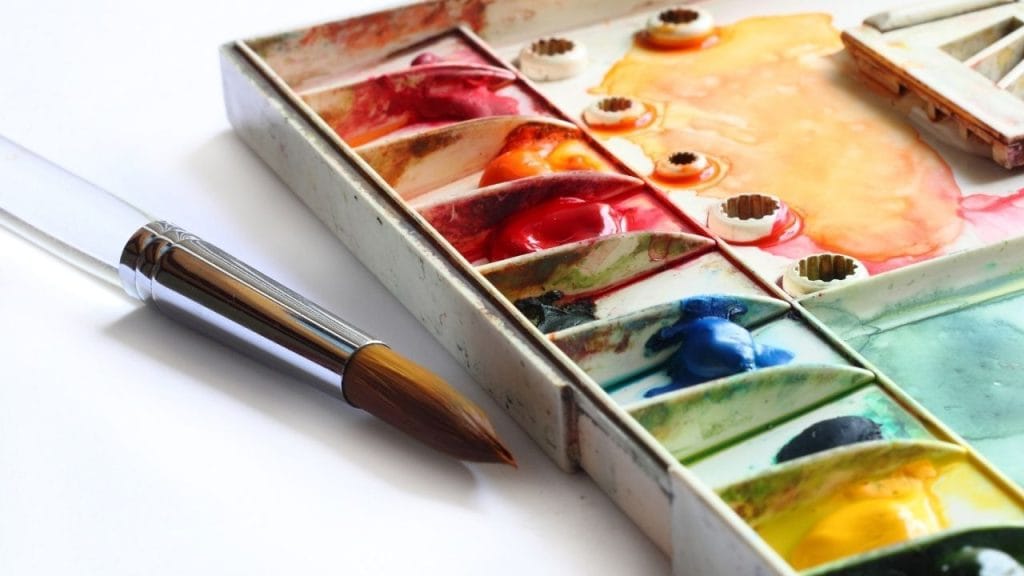
- Palette: Use a palette with wells to mix and dilute your watercolor paints. A ceramic or plastic palette works well for this purpose.
- Water containers: Keep a couple of containers filled with clean water for rinsing your brushes and diluting your paints.
Now that you have your materials ready, let’s move on to the basic techniques for ultra loose watercolor painting.
Basic techniques for ultra loose watercolor painting
Before diving into the world of ultra loose watercolor painting, it’s important to understand and practice some basic techniques. These techniques will serve as the foundation for your loose and expressive style. Be sure to check out this highly educational video tutorial that covers all watercolor techniques. Here are a few techniques to get you started:
Wet-on-wet technique
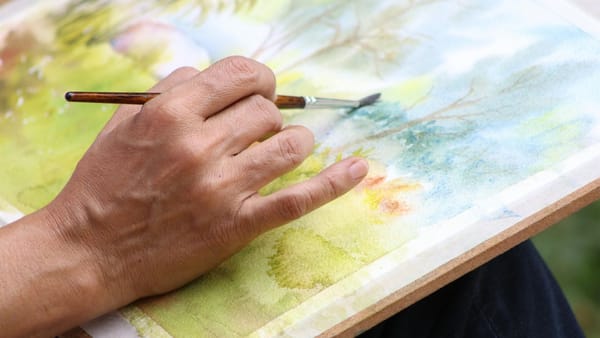
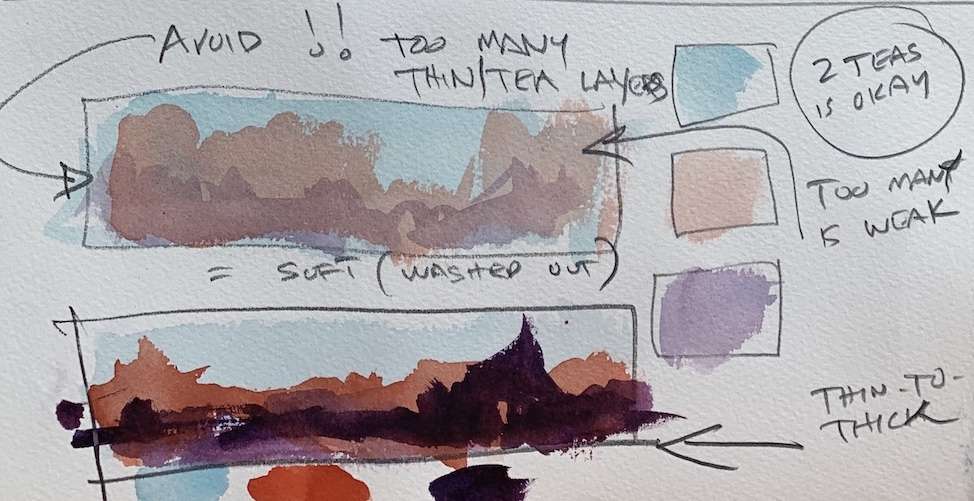
The wet-on-wet technique involves applying wet paint onto a wet paper surface. This creates a soft and blended effect, perfect for creating beautiful washes and backgrounds in your paintings. Start by wetting your watercolor paper with clean water using a large brush. Then, load your brush with pigment and gently apply it to the wet surface. Watch as the colors merge and blend together, creating a dreamy and ethereal effect.
Wet-on-dry technique
The wet-on-dry technique involves applying wet paint onto a dry paper surface. Unlike the wet-on-wet technique, this technique allows for more control and crisp edges in your paintings. Start by wetting your brush and loading it with pigment. Then, apply the paint to the dry paper, using a combination of brushstrokes and techniques to create the desired effect. This technique is great for adding details and defining shapes in your watercolor paintings.
Lifting technique
The lifting technique involves removing or lightening the paint from the paper using a clean, damp brush or a tissue. This technique allows you to correct mistakes, create highlights, or add texture to your paintings. Simply wet your brush or tissue and gently lift the paint from the paper. Experiment with different lifting techniques to achieve the desired effect.
Now that you have a good grasp of the basic techniques, let’s explore how to create dynamic washes and backgrounds in your ultra loose watercolor paintings.
Creating dynamic washes and backgrounds
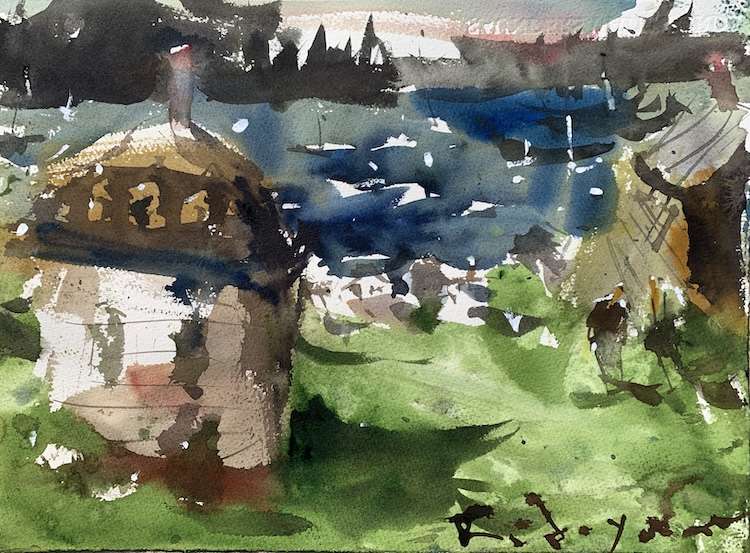
Washes and backgrounds play a crucial role in setting the mood and atmosphere of your watercolor paintings. To create dynamic washes and backgrounds, follow these steps:
- Start by wetting your watercolor paper with clean water using a large brush. Ensure that the entire paper is evenly wet.
- Load your brush with a generous amount of pigment and apply it to the wet surface. Use broad, sweeping strokes to create a smooth and even wash.
- Experiment with different colors and gradients to create depth and interest in your washes. Blend and layer the colors while the paper is still wet to achieve a seamless transition.
- If you want to add texture or create interesting effects, you can sprinkle salt or alcohol onto the wet wash. Watch as the salt or alcohol reacts with the paint, creating unique patterns and textures.
Remember, the key to creating dynamic washes and backgrounds is to work quickly and confidently. Embrace the fluidity of watercolors and let the paint do its magic.
Incorporating negative painting techniques
Negative painting is a technique where you paint around the subject to create a shape or form. It involves using the space around the subject to define its presence, rather than painting the subject itself. This technique adds depth and dimension to your watercolor paintings. Here’s how you can incorporate negative painting techniques:
- Start by identifying the subject you want to paint. It could be a flower, a tree, or any other object.
- Instead of painting the subject directly, paint around it, leaving the shape of the subject untouched.
- Use a combination of wet-on-wet and wet-on-dry techniques to create the negative space around the subject. Experiment with different colors and brushstrokes to achieve the desired effect.
- Gradually build up the layers and details of the negative space, adding depth and dimension to your painting.
Incorporating negative painting techniques in your ultra loose watercolor paintings adds a sense of mystery and intrigue. It allows the viewer to focus on the subject while still appreciating the surrounding space.
Adding texture and details to your painting
Texture and details bring life to your watercolor paintings. They add depth, interest, and a sense of realism to your artwork. Here are a few techniques to add texture and details to your ultra loose watercolor paintings:
Dry brush technique
The dry brush technique involves using a dry brush to apply paint to a dry or slightly damp paper surface. This technique creates texture and adds a rough, textured effect to your paintings. Load your brush with a small amount of pigment and apply it lightly to the paper, using short, quick strokes. The dry brush technique is great for creating the illusion of fur, grass, or other textured surfaces.
Splattering technique
The splattering technique involves flicking or splattering paint onto the paper using a brush or a toothbrush. This technique adds a sense of movement, energy, and spontaneity to your paintings. Dip your brush or toothbrush into the paint, hold it above the paper, and flick your wrist to create splatters. Experiment with different colors and brush sizes to achieve the desired effect.
Details with a fine brush
Use a fine brush or a rigger brush to add fine details and lines to your watercolor paintings. This technique is perfect for adding intricate details to flowers, leaves, or any other element in your artwork. Load your brush with a small amount of pigment and carefully paint the details with precision and control.
Remember, adding texture and details should be done sparingly and strategically. Too much detail can overpower the loose and expressive style of your watercolor paintings.
Tips for achieving a loose and expressive style
Achieving a loose and expressive style in watercolor painting requires practice, experimentation, and a willingness to let go of perfection. Here are a few tips to help you embrace a loose and expressive style:
- Paint with large brushes: Using large brushes allows you to create bold, spontaneous strokes and encourages a loose style. Embrace the freedom of large brushes and let the paint flow freely.
- Be mindful of water-to-paint ratio: Experiment with different water-to-paint ratios to achieve the desired consistency and transparency. A more dilute mixture allows for more fluidity and movement in your paintings.
- Embrace happy accidents: Watercolor painting is full of surprises. Embrace the unexpected and let the paint guide you. Sometimes, the best results come from happy accidents and spontaneous moments.
- Practice wet-on-wet techniques: Wet-on-wet techniques are key to achieving a loose and expressive style. Embrace the blending and merging of colors and let the paint create its own magic on the paper.
- Trust your instincts: Don’t overthink your watercolor paintings. Trust your instincts and let your creativity guide you. Remember, watercolor painting is about capturing the essence of the subject, not creating a perfect replica.
Step-by-step ultra loose watercolor video tutorial
Now that you have a good understanding of the techniques and tips for ultra loose watercolor painting, it’s time to put them into practice. Follow along with our step-by-step ultra loose watercolor video tutorial as our expert artist walks you through the process of creating a stunning watercolor landscape painting using an ultra loose approach. Watch, learn, and let your creativity flow!
Common mistakes to avoid in ultra loose watercolor painting
While exploring the world of ultra loose watercolor painting, it’s important to be aware of some common mistakes that artists often make. Here are a few mistakes to avoid:
- Overworking your painting: Overworking your painting can lead to muddy colors and a loss of spontaneity. Know when to stop and let the painting breathe.
- Using too many colors: Using too many colors can result in a chaotic and overwhelming painting. Choose a limited color palette and focus on creating harmony and balance.
- Being too cautious: Ultra loose watercolor painting requires a bold and fearless approach. Don’t be afraid to take risks and experiment. Embrace imperfections and let your creativity shine.
- Ignoring negative space: Negative space is as important as the subject itself. Pay attention to the space around the subject and use it to define shapes and forms.
- Lack of contrast: Contrast adds visual interest and depth to your watercolor paintings. Experiment with light and dark values to create a sense of depth and dimension.
Conclusion and final thoughts on ultra loose watercolor painting
Congratulations! You have completed our ultra loose watercolor video tutorial and gained valuable insights into the world of loose and expressive watercolor painting. Remember, the key to achieving a loose style is to let go of perfection, embrace the unexpected, and trust your instincts. Practice, experiment, and have fun with your watercolor paintings. Unleash your creativity and create mesmerizing watercolor masterpieces like never before. Happy painting!
Now that you have a solid foundation in ultra loose watercolor painting, continue to explore and refine your skills. The more you practice, the more confident you will become in creating loose and expressive watercolor paintings. Embrace the joy of painting with freedom and expression, and let your artwork speak volumes.
