Ultra Loose Watercolor Cityscape Demo
In this tutorial, I will guide you through the process of painting a mesmerizing cityscape using ultra-loose watercolor techniques
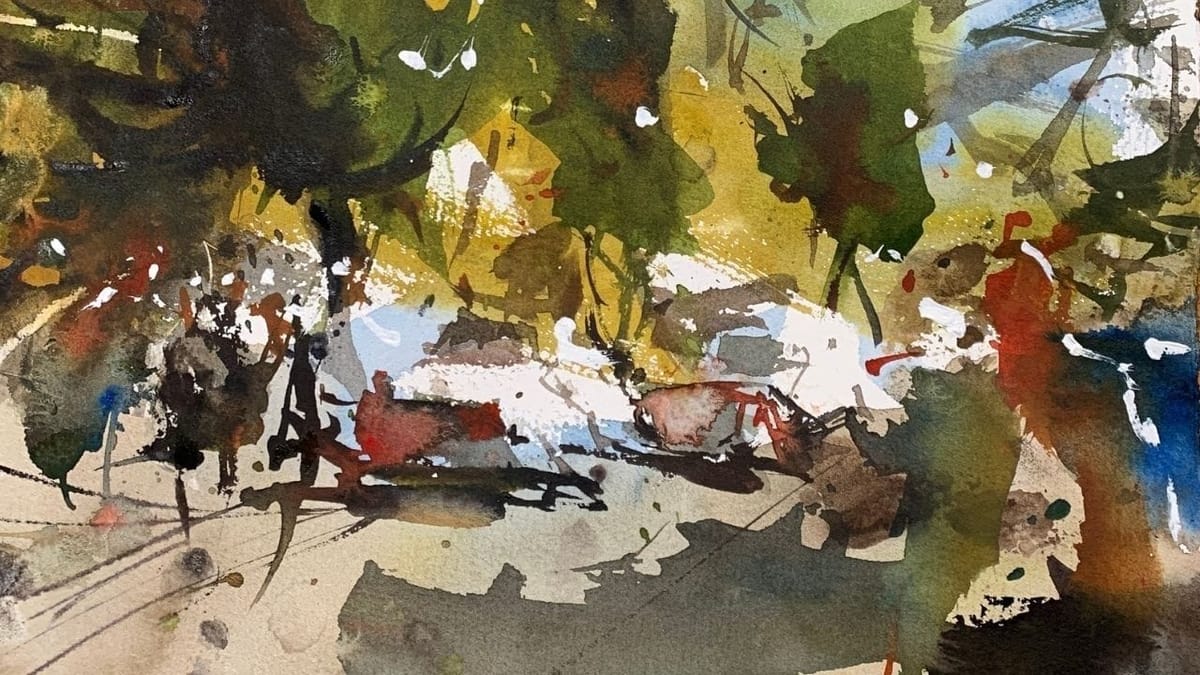
In this tutorial, I will guide you through the process of painting a mesmerizing cityscape using ultra-loose watercolor techniques. Watercolor painting can be both thrilling and challenging, especially when aiming for a loose and expressive style. Striking a balance between having a vision and allowing room for spontaneity is crucial to create captivating watercolor artworks.
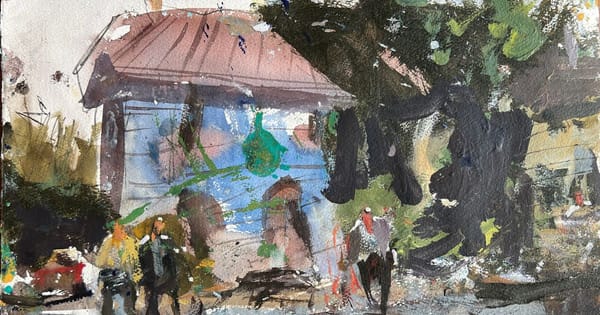
Below you will find the finished art image, a list of some ideas to think about before paint hits the paper and finally a video demo where I paint the loose watercolor urban inspired artwork.
Video Demo
Let’s dive into Ultra Loose Watercolor Landscape Tips
Before diving into the painting process, let’s cover some essential steps to set the groundwork for your masterpiece:
- Composing Your Vision; Take a few minutes to analyze the scene and arrange large shapes into a compelling composition. Look for interesting perspectives, leading lines, and focal points that will draw the viewer into the painting.
- Choosing Your Focal Point; Decide on a focal point or an overall plan for how you want your audience to explore the cityscape. This could be a prominent building, an intriguing alleyway, or any element that captures attention.
- Grasping Values; Consider the value hierarchy and determine where you want to place the darkest and lightest values. This step is essential to create depth and contrast in your artwork.
- Picking Your Palette; Choose between a chromatic (color-focused) or tonal (value-focused) color palette. Experiment with various color combinations to evoke different moods and atmospheres.
Now that we have our guidelines set, let’s dive into the captivating cityscape painting process. Remember, while I’ll be demonstrating my approach, there’s plenty of room for creativity and experimentation. Embrace the fluidity of watercolors and embrace any exciting opportunities that arise during the painting process.
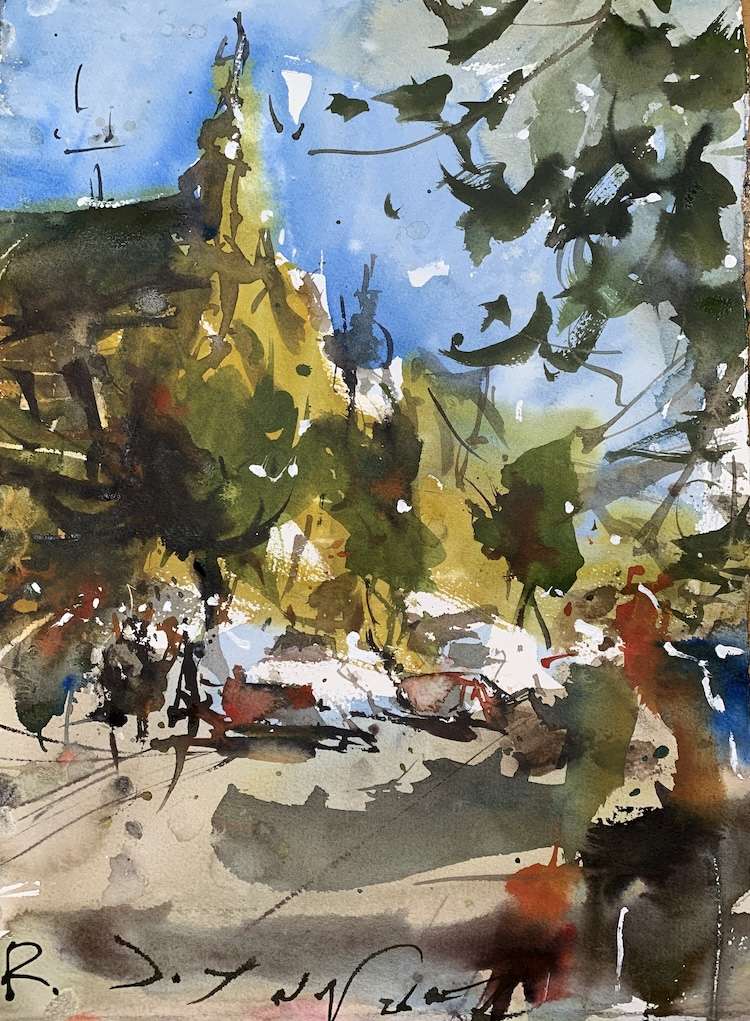
Finding Inspiration and Starting the Artwork
For this particular cityscape, I discovered a captivating photo reference while browsing Pinterest cityscape photos. The original image had a strong composition, but I made a few tweaks to add my personal touch. Remember, it’s perfectly fine to modify references to suit your creative vision.
Suggested Material Checklist
Materials can make or break the outcome of a watercolor study. Watch the video that covers the best watercolor materials if you need more specifics about color choices, brush sizes and such. Basically, it’s exactly what I use and recommend for all levels.
Watercolor Paints: Opt for artist-grade watercolor paints in a range of colors. Choose a basic palette that includes six primary colors (one cool and warm hue for each one including red, blue, and yellow) along with earth tones for a versatile collection.
If you aren’t aware of the six primary palette, then check out our in-depth article on how to mix watercolors for beginners. It has the exact hues I use for every painting. And, if I make changes, I always update the article so you know the exact hues that get the best results.
Brushes: Invest in a set of good-quality watercolor brushes with different shapes and sizes. Round brushes are excellent for detailed work, while flat brushes are great for larger washes. I’d recommend one medium and one large pointed round. Then get a large mop brush that will handle those initial washed that are applied in the very beginning.
You only need three brushes to do most of the heavy lifting! However, I do recommend having a dagger and possibly and Motler on hand as well. Check out the article I wrote on how to choose the best watercolor brushes if you have questions on the exact brands, sizes and such.
Paper: I highly recommend selecting watercolor paper specifically designed for this medium. Look for papers labeled “cold-pressed” or “hot-pressed” to suit your preferred texture. Experiment with different weights and brands to find the one that suits your style. Most beginners choose 140 lb. cold press to start their journey. Hot press tends to be a little slick and most used for highly detailed work and portraits.
Avoid cheap, wood pulp papers as they don’t react properly to washes and other techniques. These cheaper papers tend to break down quickly and don’t age well either, basically yellowing over time. Be sure to read the how to choose the best watercolor paper article when you have time.
If you aren’t aware of the six primary palette, then check out our in-depth article on how to mix watercolors for beginners. It has the exact hues I use for every painting. And, if I make changes, I always update the article so you know the exact hues that get the best results.
Palette: A palette is essential for mixing and diluting your watercolors. Choose a palette with wells to hold different colors and a large mixing area. Small palettes tend to get dirty too quick and I found it difficult to have enough free space to mix enough colors without having to stop everything to clean up. The Masterson Pro palette works great and available at Amazon and Blick Art.
Water Containers: Have at least two containers for water—one for rinsing your brushes and another for clean water. Make sure the containers aren’t too small, and I would recommend plastic over glass. I’ve had plenty of studio accidents and cleaning up shattered glass isn’t ideal when in a creative mode.
Masking Tape and Drawing Board: Masking tape helps secure your paper to a drawing board, keeping it flat and preventing it from warping. The tape is optional and depends if you prefer the clean edges. In the beginning you will most likely focus on sketches and studies, so maybe pass until you determine later on if you need it.
A smooth, firm board is a must! I recommend Gator foam board as it’s very sturdy, smooth and durable. Fairly inexpensive and light weight to boot. That covers materials, let’s move on to skills you need to start watercolor painting.
Here’s a great article that covers all the best watercolor materials I use and recommend for all levels. Have a look!
The Painting Process
- Laying the Foundation: Begin by lightly sketching the main elements of the cityscape on your watercolor paper. Use loose, light strokes to avoid leaving visible marks after the paint is applied.
- Wet-On-Wet Watercolor Technique: Wet the paper evenly with clean water, using a large brush. This will allow the colors to flow effortlessly, creating soft and blended washes. Start with the sky and gradually work your way down to the buildings and streets.
- Adding Color and Depth: As you progress, add layers of color to create depth and dimension in your cityscape. Experiment with the interplay of warm and cool colors to evoke different lighting conditions and atmospheric effects.
- Embrace Imperfections: Don’t be afraid to let the watercolors do their magic! Allow the colors to bleed and blend naturally, embracing the unexpected outcomes.
- Accentuating Details: Once the initial washes dry, use finer brushes to add details to the cityscape. Highlight focal points and add in architectural elements, such as windows, doors, and street signs.
- Balancing Values: Keep an eye on the value distribution throughout the painting. Ensure that your darkest darks and lightest lights are strategically placed to create a balanced and visually engaging composition.
- Finishing Touches: Step back and evaluate your artwork. Make any necessary adjustments and add final touches to bring your cityscape to life.
Conclusion
Congratulations! You’ve successfully created an ultra-loose watercolor cityscape. Embrace the beauty of imperfections and the unpredictability of watercolors. Remember that each artwork is an opportunity for growth and learning.
Feel free to explore different scenes, experiment with various techniques, and develop your unique artistic style. Embrace the joy of painting and unleash your creativity with fluidity and color.
I hope this tutorial has inspired you to embark on your watercolor journey and explore the endless possibilities of this captivating medium. Happy painting!
