Transform Reject Watercolors into Winners
Learn how to transform reject watercolors into mixed media winners, Enjoy innovative techniques and a fresh perspective. Watch video now!
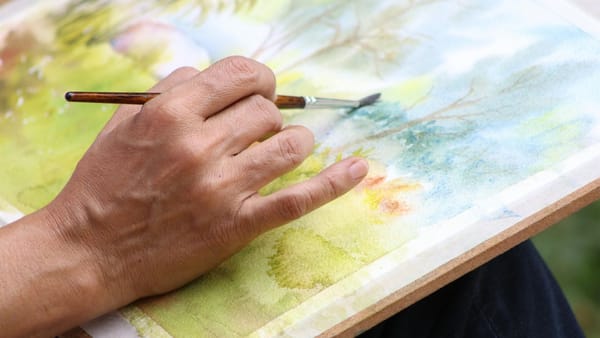
Watercolor painting is a beautiful and delicate art form, but let’s face it, we’ve all had those moments where our creations don’t turn out as we envisioned. Whether it’s due to a lack of experience, an experimental phase, or just an off day, we often end up with stacks of rejected watercolor paintings that seem destined for the trash bin.
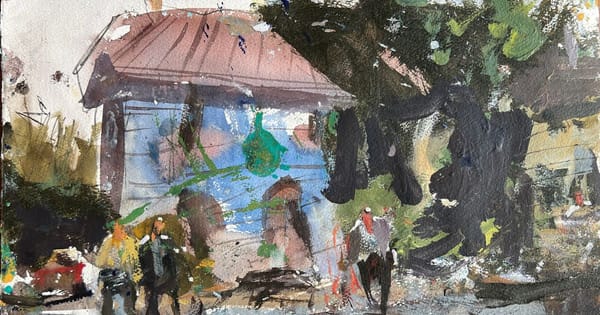
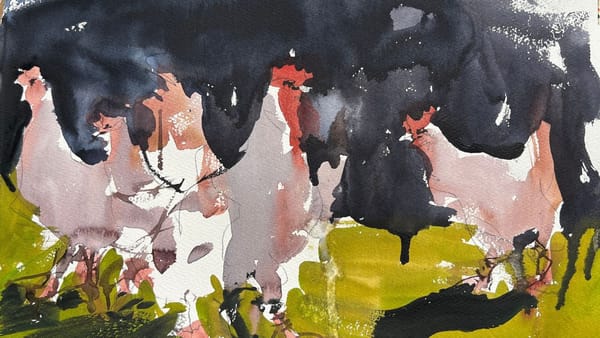
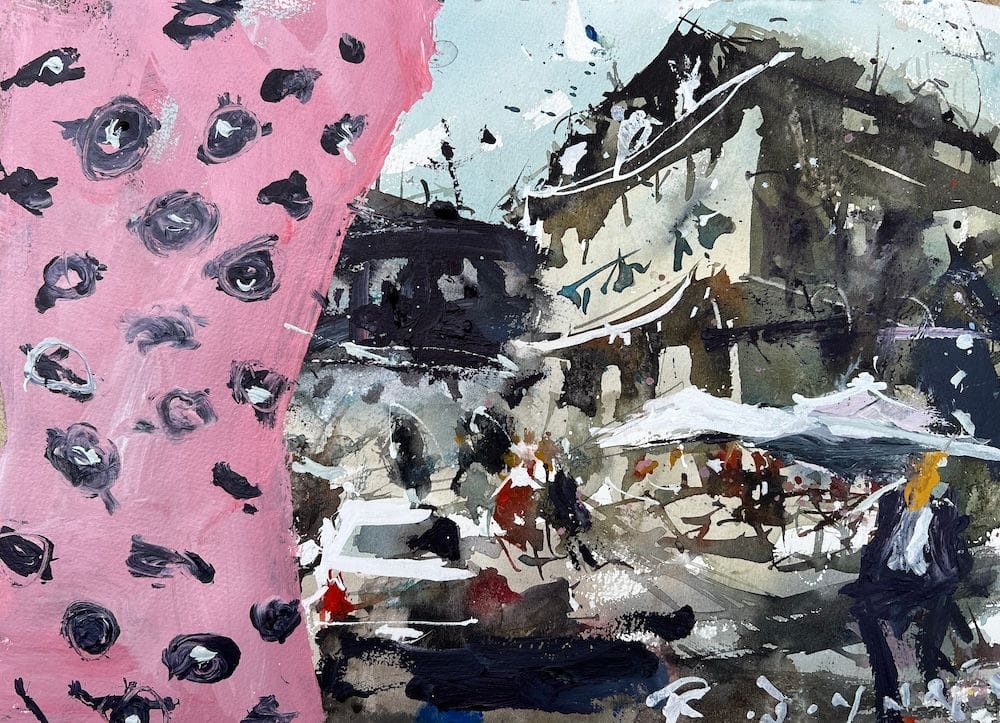
But what if I told you that those rejected pieces could be the starting point for something extraordinary? In this tutorial, I’ll guide you through a creative journey where we take an inferior watercolor landscape painting and transform it into a vibrant mixed media masterpiece.
Let’s Get Started with How to Transform Reject Watercolors into Mixed Media Masterpieces
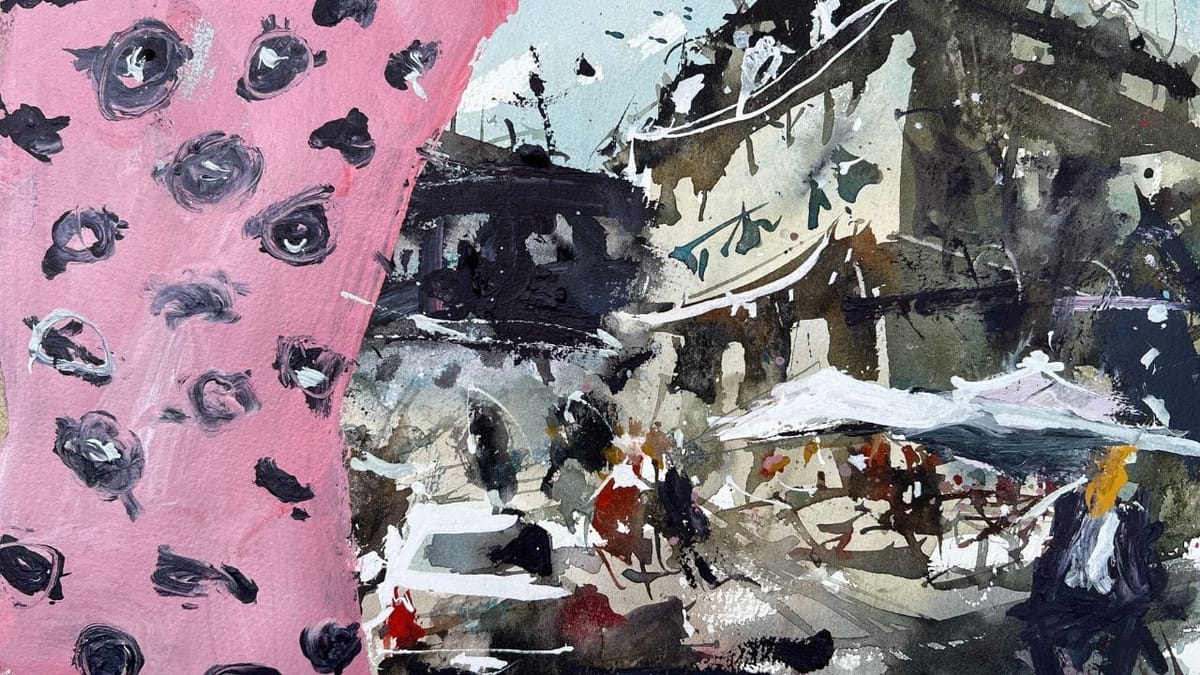
Below you we will begin with the finished art created in this tutorial. Then we will dive deeper with suggested materials needed and then a video tutorial where I paint the piece for you.
Suggested Material Checklist
Materials can make or break the outcome of a watercolor study. Watch the video that covers the best watercolor materials if you need more specifics about color choices, brush sizes and such. Basically, it’s exactly what I use and recommend for all levels.
Watercolor Paints: Opt for artist-grade watercolor paints in a range of colors. Choose a basic palette that includes six primary colors (one cool and warm hue for each one including red, blue, and yellow) along with earth tones for a versatile collection.
If you aren’t aware of the six primary palette, then check out our in-depth article on how to mix watercolors for beginners. It has the exact hues I use for every painting. And, if I make changes, I always update the article so you know the exact hues that get the best results.
Brushes: Invest in a set of good-quality watercolor brushes with different shapes and sizes. Round brushes are excellent for detailed work, while flat brushes are great for larger washes. I’d recommend one medium and one large pointed round. Then get a large mop brush that will handle those initial washed that are applied in the very beginning.
You only need three brushes to do most of the heavy lifting! However, I do recommend having a dagger and possibly and Motler on hand as well. Check out the article I wrote on how to choose the best watercolor brushes if you have questions on the exact brands, sizes and such.
Paper: I highly recommend selecting watercolor paper specifically designed for this medium. Look for papers labeled “cold-pressed” or “hot-pressed” to suit your preferred texture. Experiment with different weights and brands to find the one that suits your style. Most beginners choose 140 lb. cold press to start their journey. Hot press tends to be a little slick and most used for highly detailed work and portraits.
Avoid cheap, wood pulp papers as they don’t react properly to washes and other techniques. These cheaper papers tend to break down quickly and don’t age well either, basically yellowing over time. Be sure to read the how to choose the best watercolor paper article when you have time.
If you aren’t aware of the six primary palette, then check out our in-depth article on how to mix watercolors for beginners. It has the exact hues I use for every painting. And, if I make changes, I always update the article so you know the exact hues that get the best results.
Palette: A palette is essential for mixing and diluting your watercolors. Choose a palette with wells to hold different colors and a large mixing area. Small palettes tend to get dirty too quick and I found it difficult to have enough free space to mix enough colors without having to stop everything to clean up. The Masterson Pro palette works great and available at Amazon and Blick Art.
Water Containers: Have at least two containers for water—one for rinsing your brushes and another for clean water. Make sure the containers aren’t too small, and I would recommend plastic over glass. I’ve had plenty of studio accidents and cleaning up shattered glass isn’t ideal when in a creative mode.
Masking Tape and Drawing Board: Masking tape helps secure your paper to a drawing board, keeping it flat and preventing it from warping. The tape is optional and depends if you prefer the clean edges. In the beginning you will most likely focus on sketches and studies, so maybe pass until you determine later on if you need it.
A smooth, firm board is a must! I recommend Gator foam board as it’s very sturdy, smooth and durable. Fairly inexpensive and light weight to boot. That covers materials, let’s move on to skills you need to start watercolor painting.
Prepare Your Workspace
Clear your workspace and lay down some old newspapers or a drop cloth to protect your surfaces. Have a cup of water handy to clean your brushes, and keep a rag or paper towels nearby for blotting and wiping excess paint.
Looking for more traditional watercolor landscape ideas?
Start Painting with Acrylics
Choose a section of your rejected watercolor painting as the starting point. It could be a portion you like or one that you think needs improvement. With acrylic paints, begin adding layers of color over the watercolor base. Acrylics are versatile and can cover up the existing watercolor, allowing you to create a new canvas to work on.
Add Funky and Colorful Patterns
Once you have a solid acrylic background, let your creativity soar. Use fine-tip markers or gel pens to add funky and colorful patterns to your painting. Geometric shapes, swirls, dots, and lines can add depth and visual interest to your artwork. Don’t be afraid to experiment; this is your chance to play with different designs and let your imagination guide you.
Embrace the Freedom
One of the beauties of mixed media art is the freedom it offers. If you don’t like a particular pattern or color, you can easily paint over it with acrylics and start again. Mixed media art encourages experimentation and embraces imperfections, so don’t worry about making mistakes. Every stroke and every color adds to the unique character of your artwork.
Final Touches and Tweaks
Once you’re satisfied with your mixed media masterpiece, take a step back and evaluate the overall composition. Are there any areas that need more detail? Is there a particular element that stands out and could use some toning down? Make any final touches and tweaks until you’re completely happy with the result.
Protect Your Artwork
To preserve your mixed media artwork, consider sealing it with a clear acrylic spray or varnish. This will protect the surface and enhance the colors, ensuring your creation lasts for years to come. Or, you can shrink wrap it if you have he equipment. Blick also sells inexpensive archival art protectors. View all suggested watercolor supplies in the article below.
Conclusion: Embracing Creativity and Transforming Rejects into Gems
Transforming reject watercolor paintings into mixed media masterpieces is not just a great way to salvage discarded artwork; it’s a testament to the limitless possibilities of creativity. By embracing the freedom of mixed media techniques, you can turn imperfections into strengths and create something truly unique and captivating.
So, next time you find yourself dissatisfied with a watercolor painting, don’t throw it away. Instead, let it be the canvas for your experimentation. Watch how acrylics and colorful patterns breathe new life into your rejected piece, transforming it into a work of art that reflects your creativity and innovation.
Remember, art knows no bounds, and with a little imagination, even the rejects can become gems in your artistic journey. Happy creating!
