Three Wet-in-Wet Watercolor Mixtures You Need to Know
Discover three wet-in-wet watercolor mixtures you need to know. Beginner=friendly video lesson with easy-to-follow tips to improve your art.
In this blog post, we will dive deep into the world of wet-in-wet watercolor washes. We’ll explore essential tips for mastering the three common mixtures. We’ll discuss other watercolor techniques such as the transparent nature of watercolors, and the importance of timing and water-to-pigment ration. I know, it sounds so technical, but truthfully it’s a simple concept once you get your head wrapped around it.
To make learning even more accessible, I’ve included a video demonstration below which will cover this basic watercolor techniques in detail.
One of the most enchanting and frustrating techniques to master in watercolor painting is the wet-in-wet wash. This technique allows artists to create beautiful, ethereal, and unpredictable effects by working on wet paper with wet paint.
However, mastering wet-in-wet watercolor washes can be a bit tricky for beginners. Common issues like “ballooning” or “cauliflower effects” can frustrate newcomers and deter them from exploring the full potential of this fascinating medium. I hope by the end of this lesson you will have a better idea on how to avoid these, so let’s get started.
Understanding and Creating Wet-in-Wet Watercolor Washes
Before we jump into the three common mixtures, it’s crucial to understand the fundamentals of wet-in-wet watercolor washes. It involves applying paint to wet paper, allowing the colors to blend and flow naturally. Here are some key concepts to keep in mind:
1. Timing is Key: Timing is crucial when working with wet-in-wet washes. The paper should be wet but not overly saturated. It should have a sheen or be damp to the touch. The paint should also be at the right consistency, not too thick or too thin.
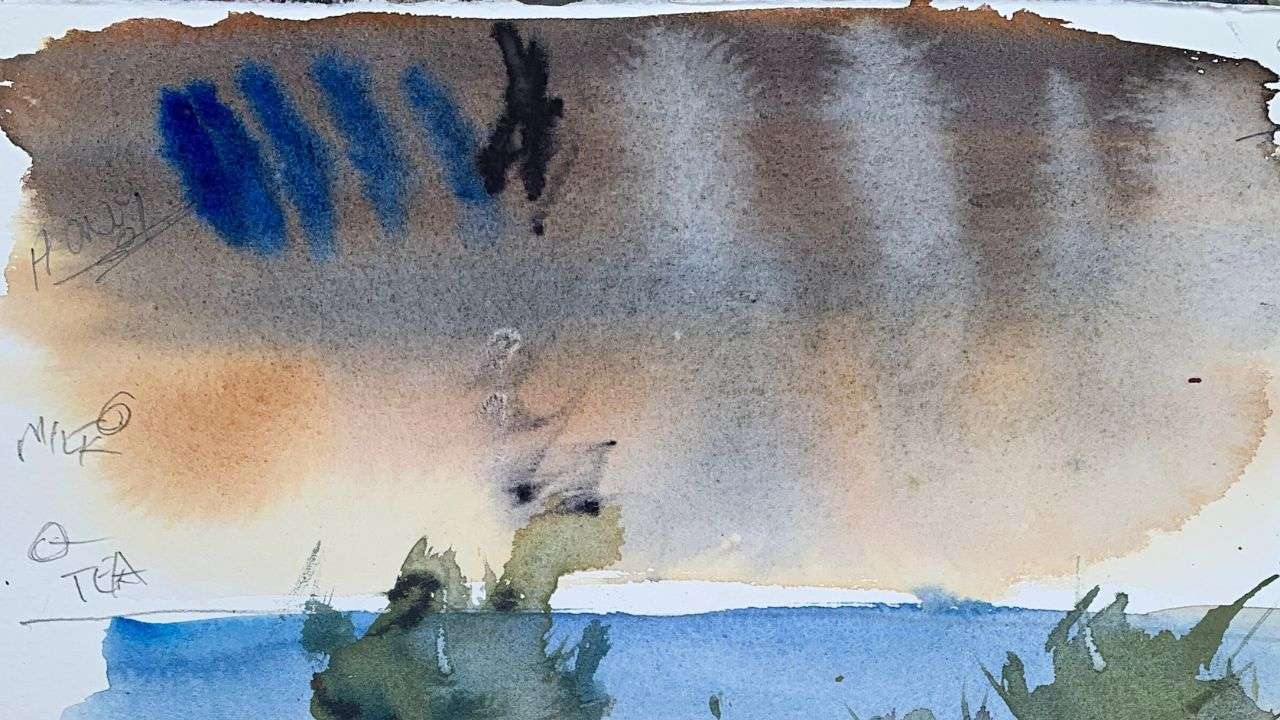
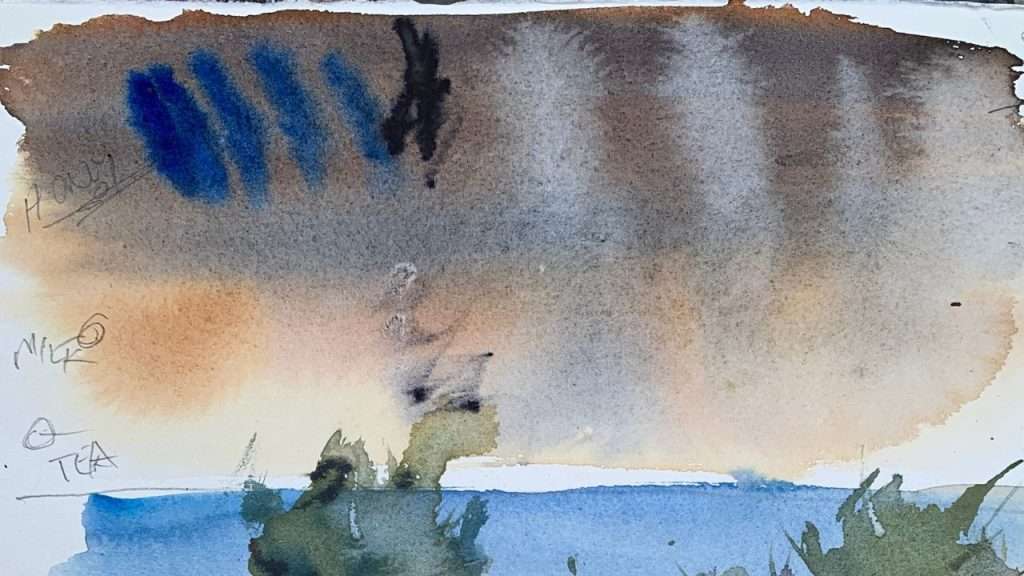
2. Paint Thickness: The thickness of your paint matters. Thin washes create delicate, transparent layers, while thicker washes will yield more vibrant and opaque results. Experimenting with different paint consistencies will help you achieve the desired effect in your paintings. That’s why I’ve shared tea, milk and honey! These mixtures are important in harnessing wet-in-wet washes.
3. Transparent Nature of Watercolors: Watercolors are known for their transparency. Unlike opaque mediums like acrylic or oil paints, watercolors allow light to pass through the paint layers and bounce off the white paper, creating luminous effects. Understanding this transparency is crucial for successful wet-in-wet washes.
4. Color Interactions: When adding multiple hues into a wet wash, it’s essential to understand how colors will interact and blend. Some colors mix harmoniously, while others can result in muddy or undesirable combinations. Familiarize yourself with color theory to make informed choices.
Tips for Mastering Wet-in-Wet Watercolor Washes
Now that we’ve covered the basics, let’s delve into some practical tips to help you master wet-in-wet watercolor washes:
1. Prepare Your Watercolor Materials: Gather high-quality watercolor paper, brushes, and paints. Use a water sprayer or a brush to evenly wet the paper. Avoid puddles, as they can lead to uncontrollable washes.
2. Test Your Colors: Before applying paint to your paper, create a color chart to understand how your chosen pigments interact when mixed.
3. Plan Your Composition: Sketch your composition lightly with a pencil. This will serve as a guide when applying your wet washes.
4. Start with Light Colors: Begin with light and transparent colors, gradually building up the intensity. Light colors will be less likely to overpower your wash.
5. Work Quickly: Wet-in-wet washes require speed. Once you start applying paint, try to finish the wash before the paper dries.
6. Tilt and Rotate: Tilt and rotate your paper to control the flow of the paint. This will help you create interesting and organic patterns.
7. Experiment and Embrace Imperfections: Don’t be afraid to experiment and let the watercolor do its magic. Embrace unexpected results and imperfections—they often add character to your artwork.
Try this Fun Project to Explore Wet-in-Wet Washes
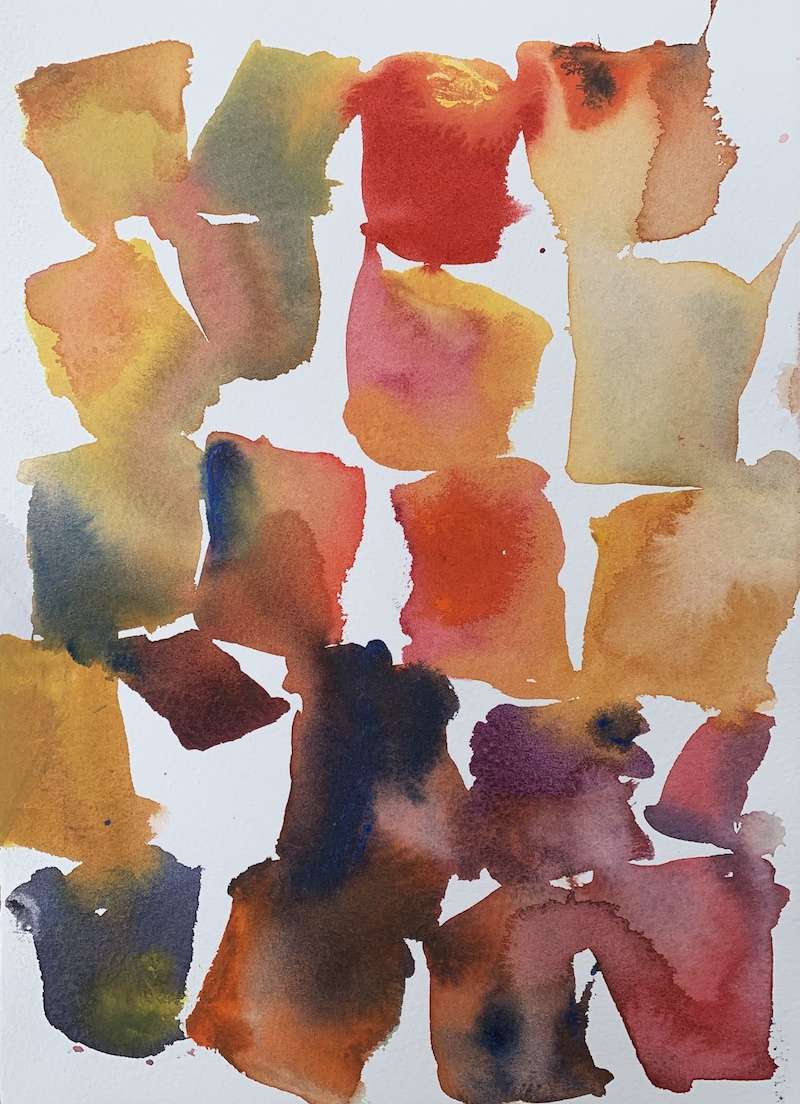
This project is from a watercolor course and it’s the perfect example of how you can practice wet-in-wet washes without taking on a difficult subject. Plus, painting wet-in-wet is a lot of fun when it’s an abstract subject.
Have a look at the study below and give it a go. Again, no need to overcomplicate it with a bunch of instructions because it can be done many ways. The key is to practice and explore the three common paint mixtures. all the while working wet-in-wet.
Conclusion
Mastering wet-in-wet watercolor washes is a rewarding journey that opens up a world of creative possibilities. By understanding the transparent nature of watercolors, practicing timing and paint thickness, and experimenting with color interactions, you can create stunning, luminous artworks that capture the essence of this captivating medium.
Remember that practice is key to improving your skills. Don’t be discouraged by initial challenges or the occasional “ballooning” or “cauliflower effect.” These can be valuable learning experiences that help you grow as an artist. Keep exploring, experimenting, and enjoying the enchanting world of watercolor painting. Happy painting!
