Unconventional Watercolor Seascape Painting Tips
Unleash your creativity with these unconventional watercolor seascape painting tips. Dive into unique approach to capture the beauty of the sea.
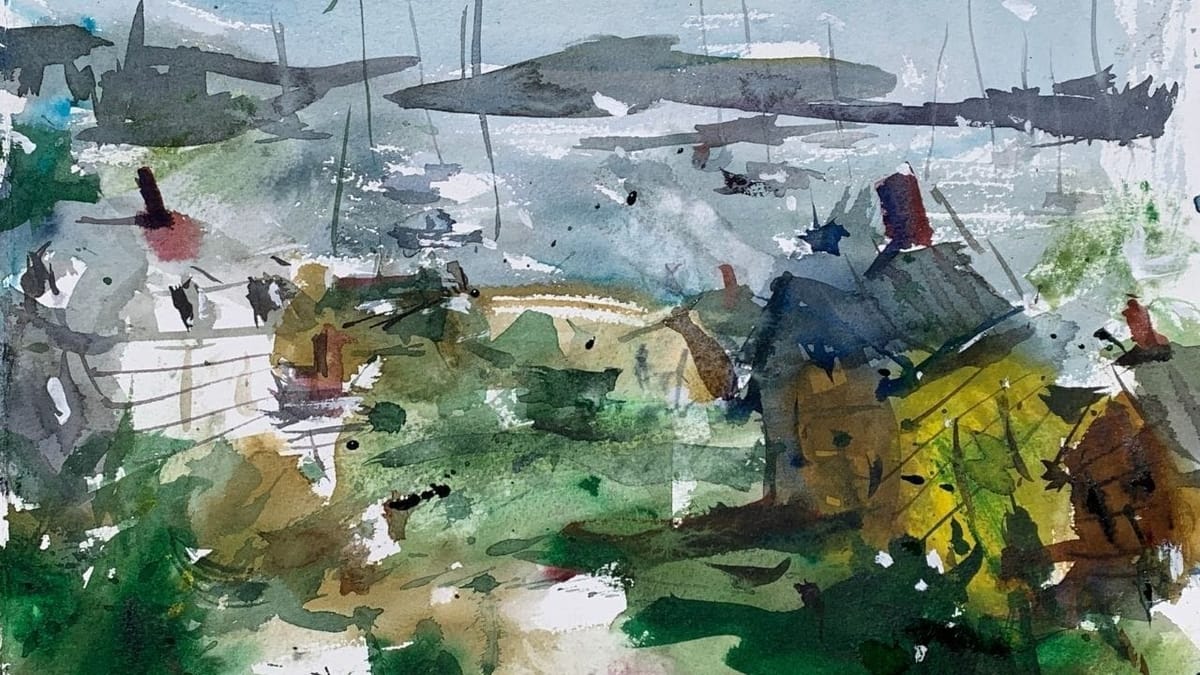
Discover a unique perspective on creating loose watercolor seascapes in this captivating video. While it may not be a formal instructional session, you’ll gain invaluable insights and inspiring ideas for painting with greater expressiveness.
Expressive watercolor landscape demo video
Watercolor Techniques That Ignite Creativity
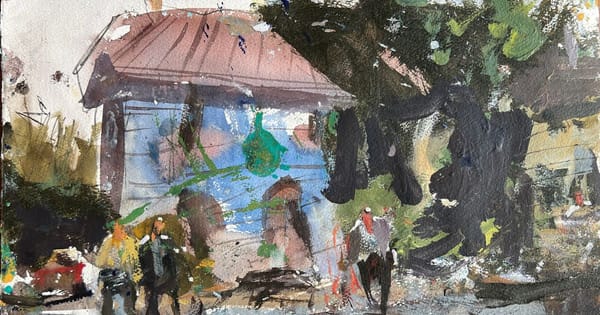
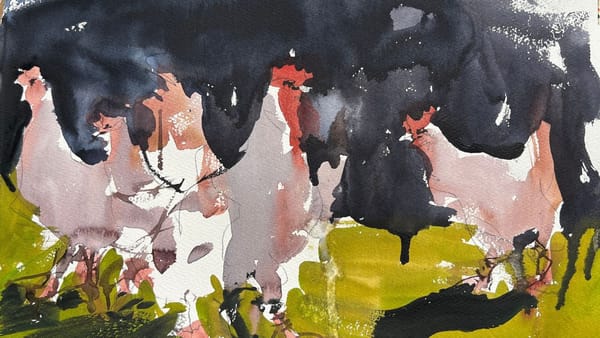
- Embracing Spontaneity: Foregoing the use of a preliminary drawing, the artist aimed to cultivate “happy accidents” and abstract qualities. By allowing the scene to unfold organically on the canvas, they captured a sense of serendipity.
- Selective Representation: Rather than replicating every minute detail from the photo reference, the artist extracted meaningful elements that harmonized with the applied washes. The intention was to let the painting evolve naturally rather than forcing every home and bush into the artwork.
- Unorthodox Brushwork: A significant portion of the painting was executed using a Dagger brush. This versatile tool lent itself to loose brushstrokes, adding an element of fluidity and expressiveness.
- Unconventional Progression: Departing from the conventional top-to-bottom approach, the artist adopted a more spontaneous style. They painted different areas of the scene in a non-linear sequence, addressing sections that required attention as inspiration struck.
Stonington, Maine: A Captivating Source of Inspiration
Experience the allure of Stonington, Maine, an enchanting fishing village nestled along the east coast. Discover the breathtaking rugged coastline and vibrant working harbors that served as the muse for this painting.
Suggested Material Checklist
Materials can make or break the outcome of a watercolor study. Watch the video that covers the best watercolor materials if you need more specifics about color choices, brush sizes and such. Basically, it’s exactly what I use and recommend for all levels.
Watercolor Paints: Opt for artist-grade watercolor paints in a range of colors. Choose a basic palette that includes six primary colors (one cool and warm hue for each one including red, blue, and yellow) along with earth tones for a versatile collection.
If you aren’t aware of the six primary palette, then check out our in-depth article on how to mix watercolors for beginners. It has the exact hues I use for every painting. And, if I make changes, I always update the article so you know the exact hues that get the best results.
Brushes: Invest in a set of good-quality watercolor brushes with different shapes and sizes. Round brushes are excellent for detailed work, while flat brushes are great for larger washes. I’d recommend one medium and one large pointed round. Then get a large mop brush that will handle those initial washed that are applied in the very beginning.
You only need three brushes to do most of the heavy lifting! However, I do recommend having a dagger and possibly and Motler on hand as well. Check out the article I wrote on how to choose the best watercolor brushes if you have questions on the exact brands, sizes and such.
Paper: I highly recommend selecting watercolor paper specifically designed for this medium. Look for papers labeled “cold-pressed” or “hot-pressed” to suit your preferred texture. Experiment with different weights and brands to find the one that suits your style. Most beginners choose 140 lb. cold press to start their journey. Hot press tends to be a little slick and most used for highly detailed work and portraits.
Avoid cheap, wood pulp papers as they don’t react properly to washes and other techniques. These cheaper papers tend to break down quickly and don’t age well either, basically yellowing over time. Be sure to read the how to choose the best watercolor paper article when you have time.
Palette: A palette is essential for mixing and diluting your watercolors. Choose a palette with wells to hold different colors and a large mixing area. Small palettes tend to get dirty too quick and I found it difficult to have enough free space to mix enough colors without having to stop everything to clean up. The Masterson Pro palette works great and available at Amazon and Blick Art.
Water Containers: Have at least two containers for water—one for rinsing your brushes and another for clean water. Make sure the containers aren’t too small, and I would recommend plastic over glass. I’ve had plenty of studio accidents and cleaning up shattered glass isn’t ideal when in a creative mode.
Masking Tape and Drawing Board: Masking tape helps secure your paper to a drawing board, keeping it flat and preventing it from warping. The tape is optional and depends if you prefer the clean edges. In the beginning you will most likely focus on sketches and studies, so maybe pass until you determine later on if you need it.
A smooth, firm board is a must! I recommend Gator foam board as it’s very sturdy, smooth and durable. Fairly inexpensive and light weight to boot. That covers materials, let’s move on to skills you need to start watercolor painting.
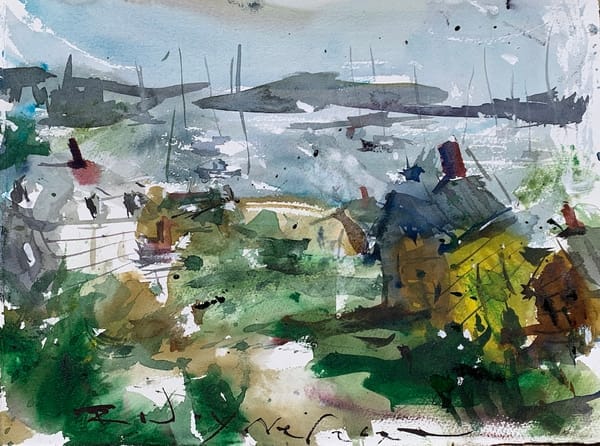
Behold the Masterpiece
Immerse yourself in the final outcome—an awe-inspiring seascape that captures the essence of the artist’s vision. We hope this journey has brought you joy and inspiration. Thank you for joining us on this artistic voyage.
4 Bonus tips for paint loose, expressive landscapes
Certainly! Here are five tips for painting loose and expressive watercolor landscapes:
- Simplify your composition: Focus on capturing the essence of the scene rather than getting caught up in intricate details. Identify the key elements that convey the mood and character of the landscape, and paint them with bold and confident strokes. By simplifying the composition, you create space for interpretive expression.
- Use bold washes and wet-on-wet techniques: Experiment with applying bold washes of color and layering wet paint on wet paper. This technique allows for blending and mingling of colors, creating vibrant and dynamic effects. Be spontaneous in your application, working quickly to preserve the freshness and fluidity of your brushwork.
- Harness the power of negative painting: Explore the technique of negative painting, where you paint around the subject to define its shape and form. By leaving white or lighter areas untouched, you can create a sense of depth and contrast. This technique also adds a sense of mystery and intrigue to your landscape, inviting the viewer to engage with the painting.
- Utilize a variety of brush sizes and shapes: Experiment with different brush sizes and shapes to create varied and expressive marks. Large brushes can help you cover larger areas with bold, sweeping strokes, while smaller brushes allow for finer details and intricate textures. Try using unconventional brushes like a Dagger or a Rigger brush to achieve unique effects and looseness in your brushwork.
Remember, the key to painting loose and expressive watercolor landscapes is to embrace experimentation, spontaneity, and a willingness to let go of control. Allow the medium to guide you and trust your instincts as you explore your own artistic style.
