Guide to Painting Watercolor Landscapes Using Photos
Ultimate guide to painting watercolor landscapes using photo references. Learn valuable, easy-to-follow tips that will eliminate common issues.
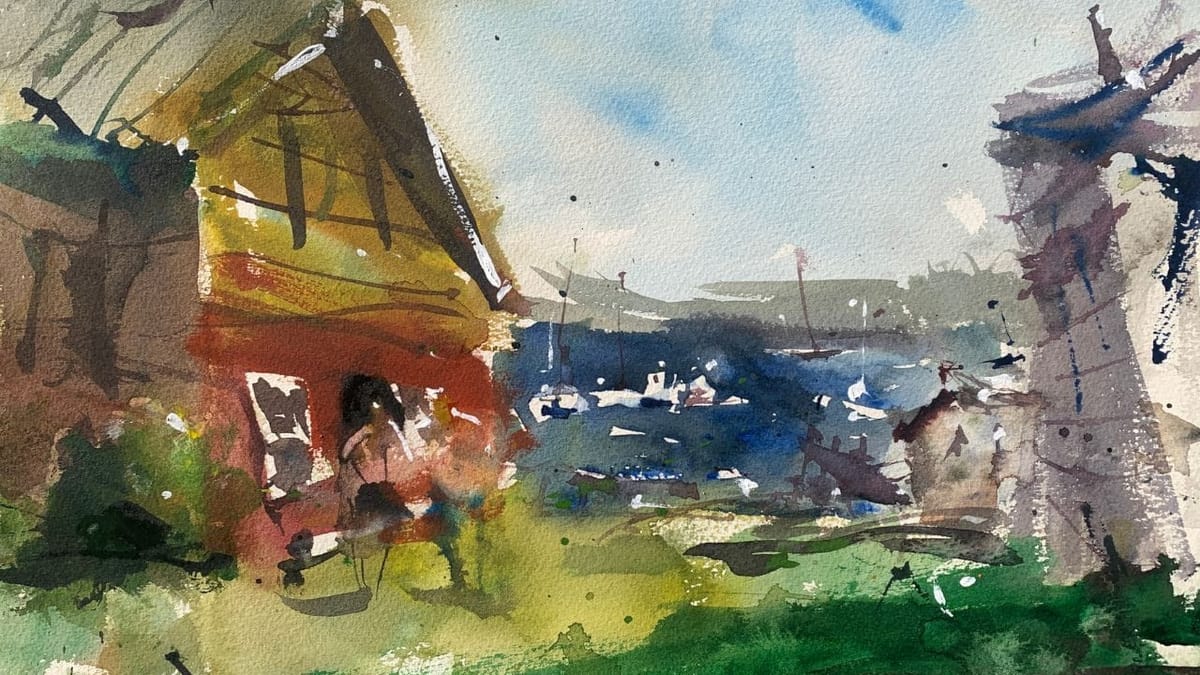
In this blog post, we’ll explore the step-by-step process of using photo references to paint vibrant and dynamic watercolor urban landscapes.
Watercolor painting is a versatile and captivating medium that offers artists the chance to create stunning urban landscapes. With the right watercolor techniques and guidance, you can transform a simple photo reference into a breathtaking watercolor masterpiece.
video demo
Choosing the Right Photo Reference
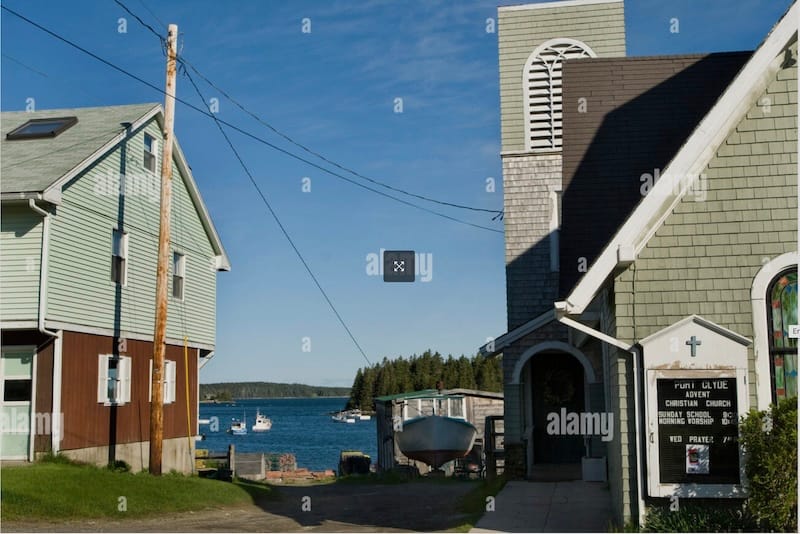
Selecting a compelling photo reference is the first step in creating a successful watercolor urban landscape. Look for photos that have a strong composition, interesting elements, and a balance of light and shadow. The photo should evoke a sense of atmosphere and emotion, which will be crucial in translating it into a captivating watercolor painting.
Suggested Material Checklist
Materials can make or break the outcome of a watercolor study. Watch the video that covers the best watercolor materials if you need more specifics about color choices, brush sizes and such. Basically, it’s exactly what I use and recommend for all levels.
Watercolor Paints: Opt for artist-grade watercolor paints in a range of colors. Choose a basic palette that includes six primary colors (one cool and warm hue for each one including red, blue, and yellow) along with earth tones for a versatile collection.
If you aren’t aware of the six primary palette, then check out our in-depth article on how to mix watercolors for beginners. It has the exact hues I use for every painting. And, if I make changes, I always update the article so you know the exact hues that get the best results.
Brushes: Invest in a set of good-quality watercolor brushes with different shapes and sizes. Round brushes are excellent for detailed work, while flat brushes are great for larger washes. I’d recommend one medium and one large pointed round. Then get a large mop brush that will handle those initial washed that are applied in the very beginning.
You only need three brushes to do most of the heavy lifting! However, I do recommend having a dagger and possibly and Motler on hand as well. Check out the article I wrote on how to choose the best watercolor brushes if you have questions on the exact brands, sizes and such.
Paper: I highly recommend selecting watercolor paper specifically designed for this medium. Look for papers labeled “cold-pressed” or “hot-pressed” to suit your preferred texture. Experiment with different weights and brands to find the one that suits your style. Most beginners choose 140 lb. cold press to start their journey. Hot press tends to be a little slick and most used for highly detailed work and portraits.
Avoid cheap, wood pulp papers as they don’t react properly to washes and other techniques. These cheaper papers tend to break down quickly and don’t age well either, basically yellowing over time. Be sure to read the how to choose the best watercolor paper article when you have time.
If you aren’t aware of the six primary palette, then check out our in-depth article on how to mix watercolors for beginners. It has the exact hues I use for every painting. And, if I make changes, I always update the article so you know the exact hues that get the best results.
Palette: A palette is essential for mixing and diluting your watercolors. Choose a palette with wells to hold different colors and a large mixing area. Small palettes tend to get dirty too quick and I found it difficult to have enough free space to mix enough colors without having to stop everything to clean up. The Masterson Pro palette works great and available at Amazon and Blick Art.
Water Containers: Have at least two containers for water—one for rinsing your brushes and another for clean water. Make sure the containers aren’t too small, and I would recommend plastic over glass. I’ve had plenty of studio accidents and cleaning up shattered glass isn’t ideal when in a creative mode.
Masking Tape and Drawing Board: Masking tape helps secure your paper to a drawing board, keeping it flat and preventing it from warping. The tape is optional and depends if you prefer the clean edges. In the beginning you will most likely focus on sketches and studies, so maybe pass until you determine later on if you need it.
A smooth, firm board is a must! I recommend Gator foam board as it’s very sturdy, smooth and durable. Fairly inexpensive and light weight to boot. That covers materials, let’s move on to skills you need to start watercolor painting.
Here are the best watercolor supplies I use and recommend for all levels. The article covers what hues I use, paper suggestions, brushes and more.
Understanding Light and Shadow
One of the key aspects of watercolor painting is understanding the interplay between light and shadow. Study your chosen photo reference to identify the areas of light, shadow, and mid-tones. This understanding will help you plan your painting and add depth to your urban landscape.
Sketching the Initial Composition
Start by lightly sketching the basic outlines of your urban landscape on the watercolor paper. Pay attention to the proportions and perspective of the buildings and other elements in the scene. Keep the lines loose and minimal, as they are only meant to guide you during the painting process.
Blocking in Colors
Begin by blocking in the major colors of the scene using light washes of watercolor. Apply the colors lightly and gradually build up the layers. Remember that watercolor is a translucent medium, so the layers underneath will affect the final appearance of your painting.
Here’s a useful article for how to mix watercolors designed for beginners who need to understand the best techniques for mixing hues the right way.
Creating Depth with Layers
Watercolor painting often involves building up layers of transparent colors to achieve depth and complexity. Start with the lightest colors and work your way to the darker shades. Allow each layer to dry before adding the next to prevent colors from bleeding into each other.
Embracing Negative Painting Techniques
Negative painting involves creating shapes by painting around them, utilizing the white of the paper as the “negative” space. This technique is especially effective for painting intricate details like windows, doors, and foliage. It adds depth and dimension to your urban landscape.
This is an excellent tutorial and demonstration for using negative space.
Capturing Reflections
If your urban landscape includes water bodies or reflective surfaces, capturing reflections is crucial. Use a wet-on-wet technique to create subtle, watery reflections that add realism and interest to your painting.
Adding Details and Textures
As you progress, start adding finer details and textures to your painting. Use finer brushes or even a pen to add intricate architectural details, signs, and other urban elements. These details will bring your urban landscape to life and make it visually engaging.
Balancing Warm and Cool Tones
Color temperature plays a significant role in creating mood and atmosphere in your painting. Experiment with warm and cool tones to evoke different emotions. Urban landscapes often feature a mix of warm and cool colors due to various light sources, so mastering this balance is key.
Final Touches and Highlights
As you approach the finishing stages, add final touches and highlights to your watercolor urban landscape. Use opaque white or a lighter shade of your chosen colors to add emphasis to specific areas, such as sunlit edges and focal points.
Conclusion
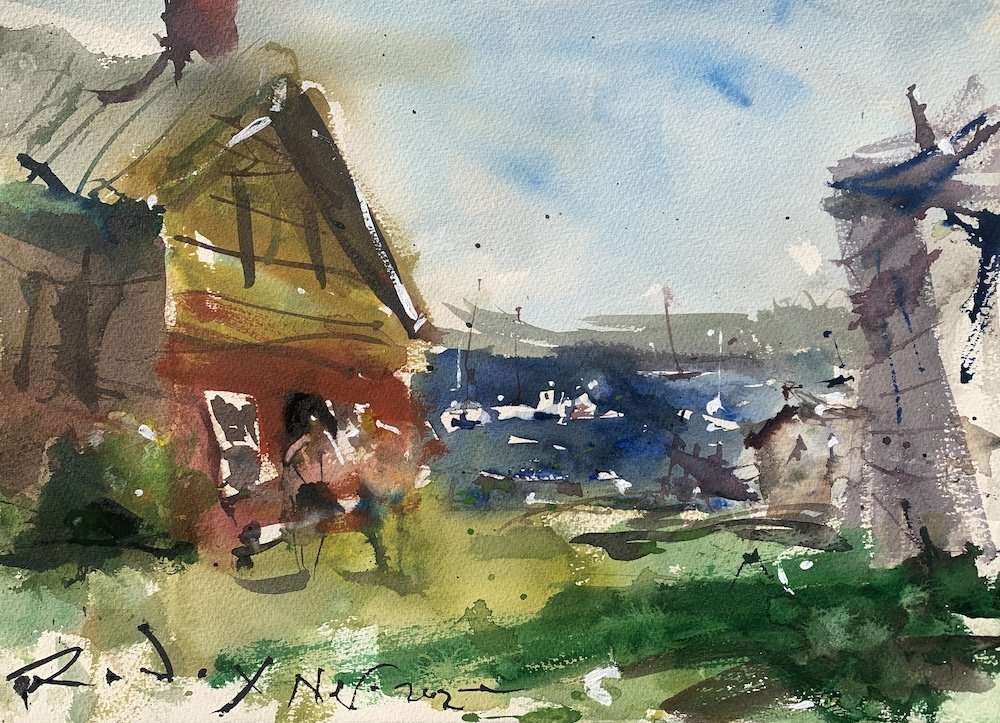
Using photo references to paint watercolor urban landscapes opens up a world of creative possibilities. By carefully studying your reference, understanding the interplay of light and shadow, and employing techniques like layering, negative painting, and balancing warm and cool tones, you can transform a simple image into a captivating masterpiece.
Here are more watercolor painting ideas you will love.
Remember, practice and patience are key to mastering the art of watercolor painting. So, gather your supplies, choose an inspiring photo reference, and embark on a journey to create stunning urban landscapes that truly come to life on paper.
