How to Turn Inferior Watercolors into Big Time Winners
An invaluable lesson for how to turn your inferior watercolors into big time winners. Paint awesome landscapes with creative techniques.
Today, we’re going to explore the concept of turning imperfect watercolor paintings into invaluable lessons and, ultimately, stunning landscape artworks. This is the perfect teacher for all levels, beginners and experienced artists.
Let’s Get Started With How To Turn Bad Art Into Good Art
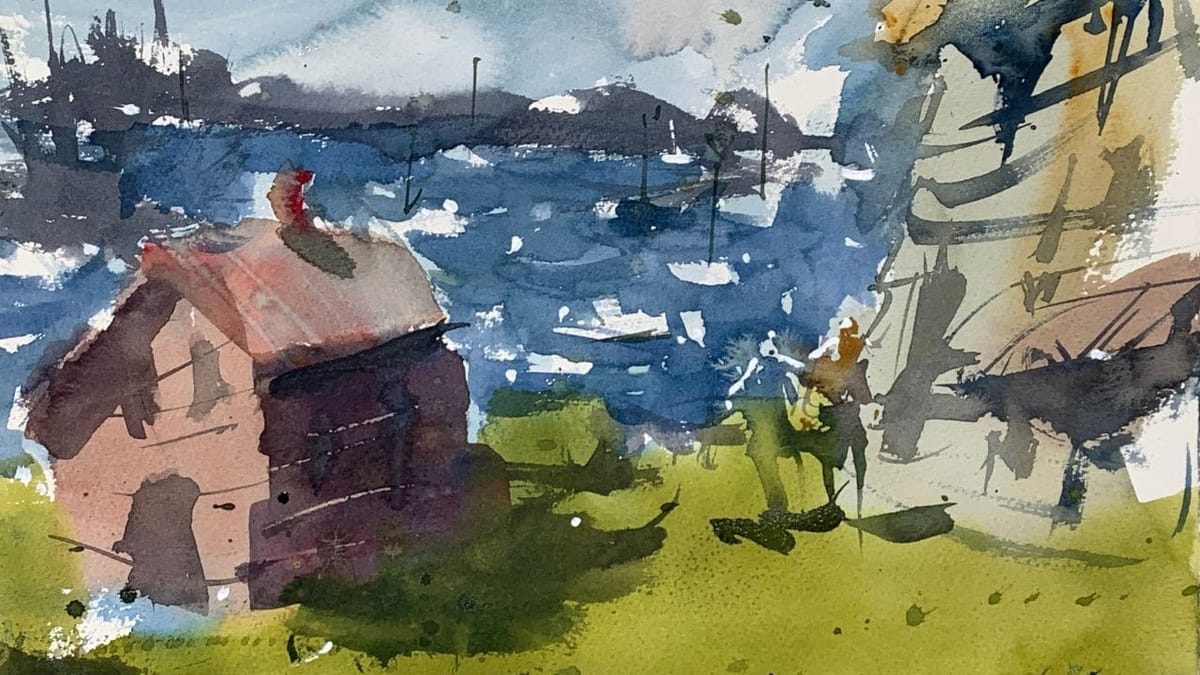
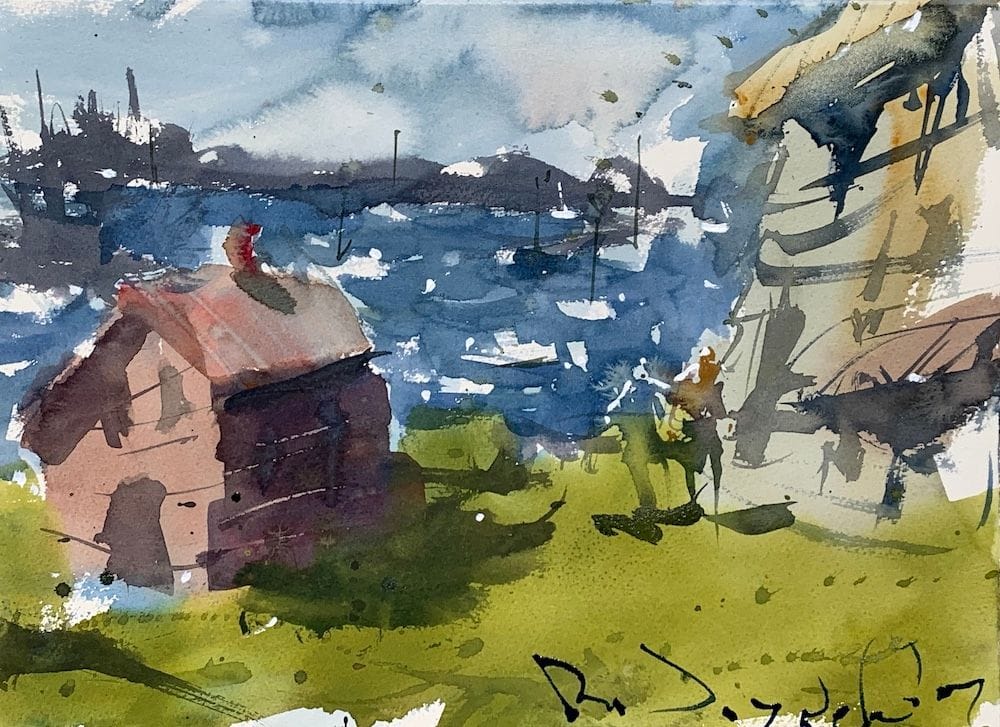
Below are some key tips that will help you transform inferior paintings into your next masterpiece. The finished art we will be doing is below.
Why Imperfection Matters
Every artist, whether a seasoned pro or a budding enthusiast, has encountered moments of artistic frustration. Those paintings that didn’t quite turn out as expected, or even worse, were deemed failures. Instead of discarding these less-than-perfect pieces, what if we told you they could be your greatest teachers?
Want some watercolor landscape inspiration? Check out these ideas!
The Power of Learning from Mistakes
Artistic growth often springs from acknowledging and learning from our mistakes. That’s why we’re going to take those so-called “inferior” watercolor works and turn them into stepping stones toward excellence in landscape painting.
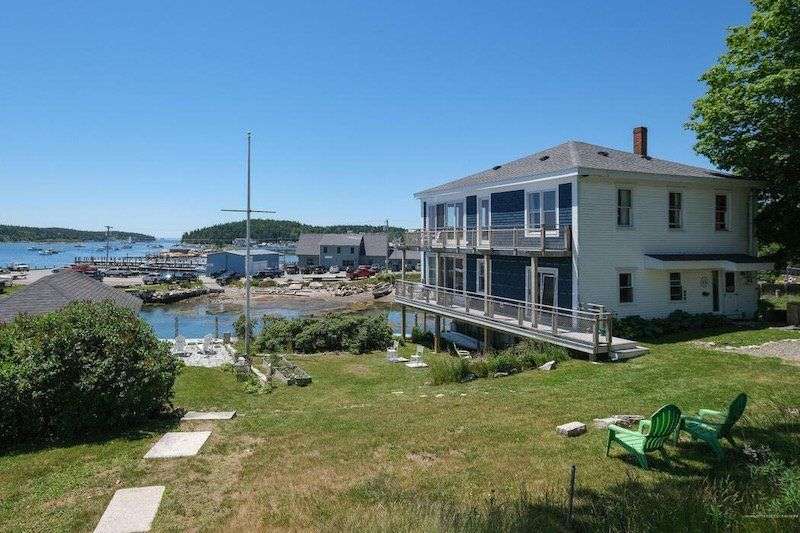
Four Tips for Turning Imperfection into Artistic Mastery
- Embrace Imperfection: Instead of viewing your less successful watercolors as failures, see them as opportunities for growth. Imperfections can add character and uniqueness to your landscapes.
- Learn from Mistakes: Analyze what went wrong in your previous attempts. Was it color mixing, composition, or brushwork? Identifying these issues will help you avoid them in future paintings.
- Experiment Fearlessly: Don’t be afraid to take risks. Use your flawed paintings as a testing ground for new techniques, colors, or styles. You might stumble upon a unique approach that sets your landscapes apart.
- Persistence Pays: Art is a journey, not a destination. Keep working on your skills and applying what you’ve learned from your imperfect pieces. Over time, you’ll see significant improvements in your landscape paintings.
Suggested Material Checklist
Materials can make or break the outcome of a watercolor study. Watch the video that covers the best watercolor materials if you need more specifics about color choices, brush sizes and such. Basically, it’s exactly what I use and recommend for all levels.
Watercolor Paints: Opt for artist-grade watercolor paints in a range of colors. Choose a basic palette that includes six primary colors (one cool and warm hue for each one including red, blue, and yellow) along with earth tones for a versatile collection.
If you aren’t aware of the six primary palette, then check out our in-depth article on how to mix watercolors for beginners. It has the exact hues I use for every painting. And, if I make changes, I always update the article so you know the exact hues that get the best results.
Brushes: Invest in a set of good-quality watercolor brushes with different shapes and sizes. Round brushes are excellent for detailed work, while flat brushes are great for larger washes. I’d recommend one medium and one large pointed round. Then get a large mop brush that will handle those initial washed that are applied in the very beginning.
You only need three brushes to do most of the heavy lifting! However, I do recommend having a dagger and possibly and Motler on hand as well. Check out the article I wrote on how to choose the best watercolor brushes if you have questions on the exact brands, sizes and such.
Paper: I highly recommend selecting watercolor paper specifically designed for this medium. Look for papers labeled “cold-pressed” or “hot-pressed” to suit your preferred texture. Experiment with different weights and brands to find the one that suits your style. Most beginners choose 140 lb. cold press to start their journey. Hot press tends to be a little slick and most used for highly detailed work and portraits.
Avoid cheap, wood pulp papers as they don’t react properly to washes and other techniques. These cheaper papers tend to break down quickly and don’t age well either, basically yellowing over time. Be sure to read the how to choose the best watercolor paper article when you have time.
If you aren’t aware of the six primary palette, then check out our in-depth article on how to mix watercolors for beginners. It has the exact hues I use for every painting. And, if I make changes, I always update the article so you know the exact hues that get the best results.
Palette: A palette is essential for mixing and diluting your watercolors. Choose a palette with wells to hold different colors and a large mixing area. Small palettes tend to get dirty too quick and I found it difficult to have enough free space to mix enough colors without having to stop everything to clean up. The Masterson Pro palette works great and available at Amazon and Blick Art.
Water Containers: Have at least two containers for water—one for rinsing your brushes and another for clean water. Make sure the containers aren’t too small, and I would recommend plastic over glass. I’ve had plenty of studio accidents and cleaning up shattered glass isn’t ideal when in a creative mode.
Masking Tape and Drawing Board: Masking tape helps secure your paper to a drawing board, keeping it flat and preventing it from warping. The tape is optional and depends if you prefer the clean edges. In the beginning you will most likely focus on sketches and studies, so maybe pass until you determine later on if you need it.
A smooth, firm board is a must! I recommend Gator foam board as it’s very sturdy, smooth and durable. Fairly inexpensive and light weight to boot. That covers materials, let’s move on to skills you need to start watercolor painting.
Need some advice on choosing the best watercolor materials?
Conclusion
Art is not about avoiding mistakes; it’s about using them as stepping stones towards excellence. With the right perspective and a willingness to learn, even your “inferior” watercolor paintings can become your best teachers. Embrace imperfection, learn from your mistakes, and let your artistic journey flourish.
So, without further ado, let’s embark on this transformative journey. Watch the video, apply the tips, and turn your imperfect watercolors into stunning landscape masterpieces. Remember, every stroke is a step forward in your artistic evolution.
