How to Paint Mountains with Watercolors
Learn how to paint mountains with watercolors, allowing your creativity to soar as you capture the beauty of these natural wonders on paper!

If you’re a beginner eager to embark on a painting journey to capture the essence of mountains, this blog post is here to guide you. The grandeur and awe-inspiring beauty of mountains have long captured the imagination of artists. With their majestic peaks, rolling slopes, and ever-changing colors, mountains provide a captivating subject for watercolor paintings.
Discover the techniques, tips, and tricks that will help you create stunning mountain landscapes using watercolors. So, grab your brushes, immerse yourself in nature’s splendor, and let’s begin our artistic ascent!
Gather Inspirations for You Mountain Landscape Painting
Before you start painting, gather inspiration from photographs, artwork, or real-life observations of mountains. Explore different mountain ranges, noting their unique characteristics, such as the shape of peaks, the colors of vegetation, and the variations in light and shadow. This research phase will help you understand the diverse elements that make up mountain landscapes and serve as a reference for your own paintings.
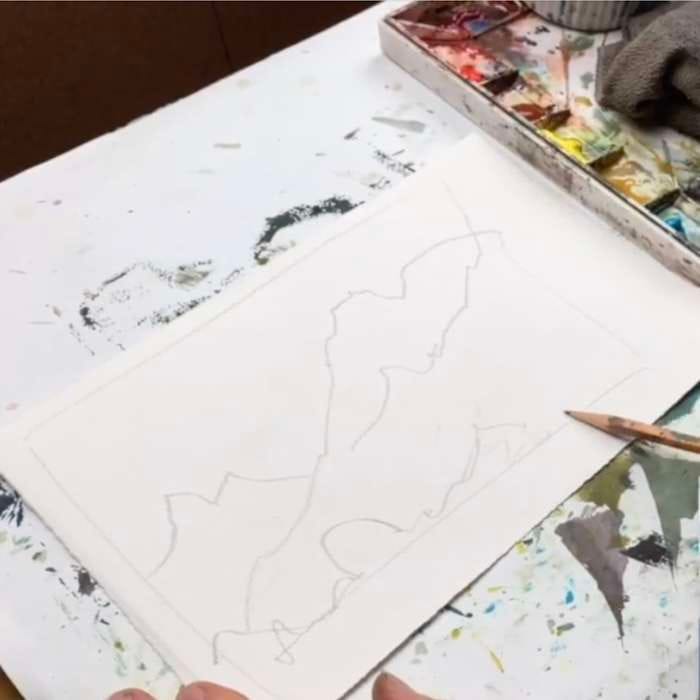
Plan Your Composition
A well-planned composition is the foundation of any successful artwork. Begin by sketching thumbnail drawings to experiment with different arrangements and perspectives. Consider the rule of thirds, leading lines, and focal points to create a visually pleasing composition. Pay attention to the balance between foreground, middle ground, and background elements, ensuring that the mountains take center stage in your painting.
Select Your Color Palette
Choosing the right color palette and mixing colors are crucial for capturing the mood and atmosphere of mountains. Start with a limited range of colors and gradually expand your collection as you gain more experience. Earthy tones like blues, greens, browns, and purples are commonly used to represent mountains. Experiment with different combinations to create depth and variation. Remember that watercolors tend to dry lighter, so test your colors on a scrap paper to achieve the desired intensity.
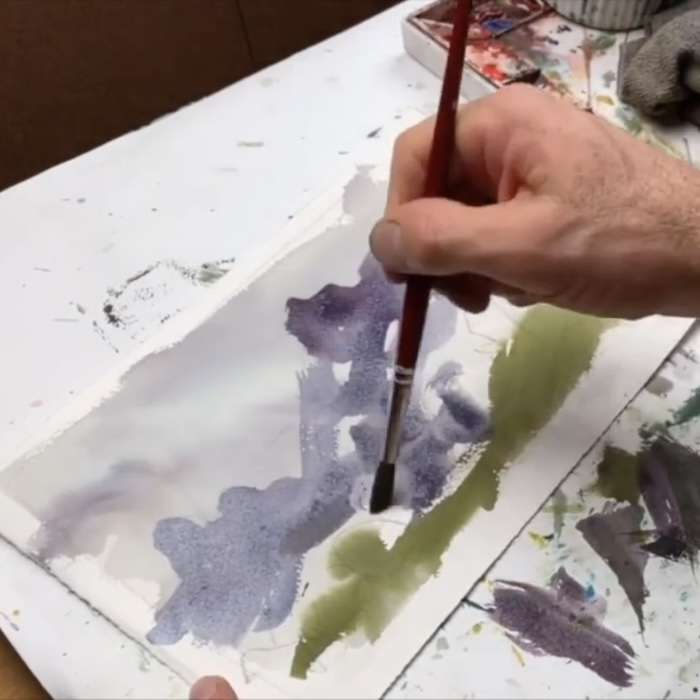
Create Depth with Layering
To capture the vastness and depth of mountains, mastering the technique of layering is essential. Begin with light washes for the distant mountains, gradually building up layers with darker tones as you move closer to the foreground. This technique creates the illusion of distance and adds depth to your painting. Experiment with different brushstrokes, such as wet-on-wet or wet-on-dry, to achieve different textures and effects.
Play with Light and Shadow
Light and shadow play a vital role in bringing mountains to life. Observe the direction of light in your reference images and replicate it in your painting. Use light washes for areas hit by direct sunlight and darker washes for shadowed areas. Pay attention to the contrast between light and shadow to add dimension and drama to your mountains. Experiment with techniques like dry brushing or lifting off paint to create highlights and textures.
Convey Texture and Detail
Mountains are rich in texture, and capturing these details will add realism and interest to your painting. Use a variety of brush sizes and techniques to convey different textures, such as rough rock surfaces or soft vegetation. Experiment with dry brushing, splattering, or using salt to create unique effects. Incorporate finer details like trees, rocks, or streams to add depth and a sense of scale to your mountain landscape.
Embrace Negative Painting
Negative painting is a technique where you paint around the subject to define its shape and form. It can be particularly effective in capturing the intricacies of mountain landscapes. Instead of painting the mountains directly, paint around their outlines, leaving negative spaces that define their contours. This technique adds a sense of depth and realism to your artwork.
Suggested Material Checklist
Materials can make or break the outcome of a watercolor study. Watch the video that covers the best watercolor materials if you need more specifics about color choices, brush sizes and such. Basically, it’s exactly what I use and recommend for all levels.
Watercolor Paints: Opt for artist-grade watercolor paints in a range of colors. Choose a basic palette that includes six primary colors (one cool and warm hue for each one including red, blue, and yellow) along with earth tones for a versatile collection.
If you aren’t aware of the six primary palette, then check out our in-depth article on how to mix watercolors for beginners. It has the exact hues I use for every painting. And, if I make changes, I always update the article so you know the exact hues that get the best results.
Brushes: Invest in a set of good-quality watercolor brushes with different shapes and sizes. Round brushes are excellent for detailed work, while flat brushes are great for larger washes. I’d recommend one medium and one large pointed round. Then get a large mop brush that will handle those initial washed that are applied in the very beginning.
You only need three brushes to do most of the heavy lifting! However, I do recommend having a dagger and possibly and Motler on hand as well. Check out the article I wrote on how to choose the best watercolor brushes if you have questions on the exact brands, sizes and such.
Paper: I highly recommend selecting watercolor paper specifically designed for this medium. Look for papers labeled “cold-pressed” or “hot-pressed” to suit your preferred texture. Experiment with different weights and brands to find the one that suits your style. Most beginners choose 140 lb. cold press to start their journey. Hot press tends to be a little slick and most used for highly detailed work and portraits.
Avoid cheap, wood pulp papers as they don’t react properly to washes and other techniques. These cheaper papers tend to break down quickly and don’t age well either, basically yellowing over time. Be sure to read the how to choose the best watercolor paper article when you have time.
If you aren’t aware of the six primary palette, then check out our in-depth article on how to mix watercolors for beginners. It has the exact hues I use for every painting. And, if I make changes, I always update the article so you know the exact hues that get the best results.
Palette: A palette is essential for mixing and diluting your watercolors. Choose a palette with wells to hold different colors and a large mixing area. Small palettes tend to get dirty too quick and I found it difficult to have enough free space to mix enough colors without having to stop everything to clean up. The Masterson Pro palette works great and available at Amazon and Blick Art.
Water Containers: Have at least two containers for water—one for rinsing your brushes and another for clean water. Make sure the containers aren’t too small, and I would recommend plastic over glass. I’ve had plenty of studio accidents and cleaning up shattered glass isn’t ideal when in a creative mode.
Masking Tape and Drawing Board: Masking tape helps secure your paper to a drawing board, keeping it flat and preventing it from warping. The tape is optional and depends if you prefer the clean edges. In the beginning you will most likely focus on sketches and studies, so maybe pass until you determine later on if you need it.
A smooth, firm board is a must! I recommend Gator foam board as it’s very sturdy, smooth and durable. Fairly inexpensive and light weight to boot. That covers materials, let’s move on to skills you need to start watercolor painting.
Conclusion
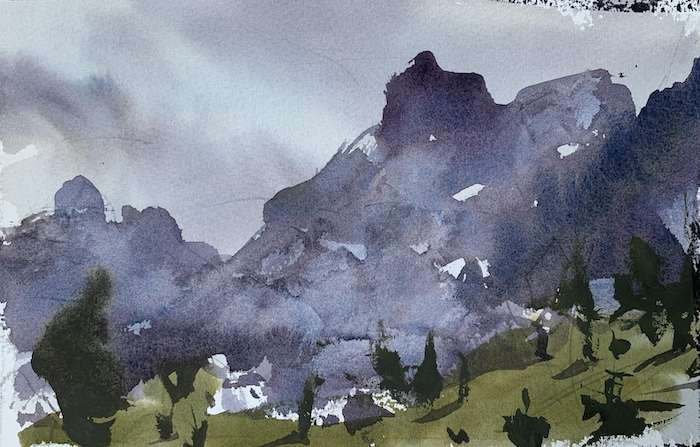
Painting mountains with watercolors is a rewarding journey that allows you to explore nature’s majesty and express your artistic vision. By gathering inspirations, planning your composition, selecting a suitable color palette, creating depth with layering, playing with light and shadow, conveying texture and detail, and embracing negative painting, you can bring mountains to life on your watercolor paper.
Remember, practice is key. The more you paint mountains, the better you’ll become at capturing their unique characteristics. Don’t be discouraged by initial challenges—view them as opportunities for growth and experimentation.
Additionally, allow yourself to explore your own style and interpretation of mountains. Each artist brings their own perspective and creativity to their artwork. Embrace your individuality and let it shine through in your paintings.
Lastly, immerse yourself in the beauty of mountains. Spend time observing them in different lighting conditions and seasons. Study photographs, visit local landscapes, or even take a hike to experience the grandeur firsthand. The more you understand and appreciate the intricacies of mountains, the more effectively you can capture their essence in your paintings.
So, equip yourself with your watercolor palette, brushes, and a sense of adventure. Let the mountains guide your artistic journey, as you learn to depict their majesty, convey their depth, and evoke the emotions they inspire. Whether you’re a beginner or an experienced artist, painting mountains with watercolors is an exploration of nature’s splendor, a celebration of your artistic abilities, and a means of connecting with the sublime beauty that surrounds us.
Now, go forth and conquer the peaks with your brushstrokes, and may your artistic ascent be filled with inspiration, growth, and breathtaking landscapes. Happy painting!