How to Paint Abstract Watercolor Urban Scene
Learn to paint an abstract style urban landscape with watercolors. An opportunity to practice eliminating details and focusing on the big shapes.
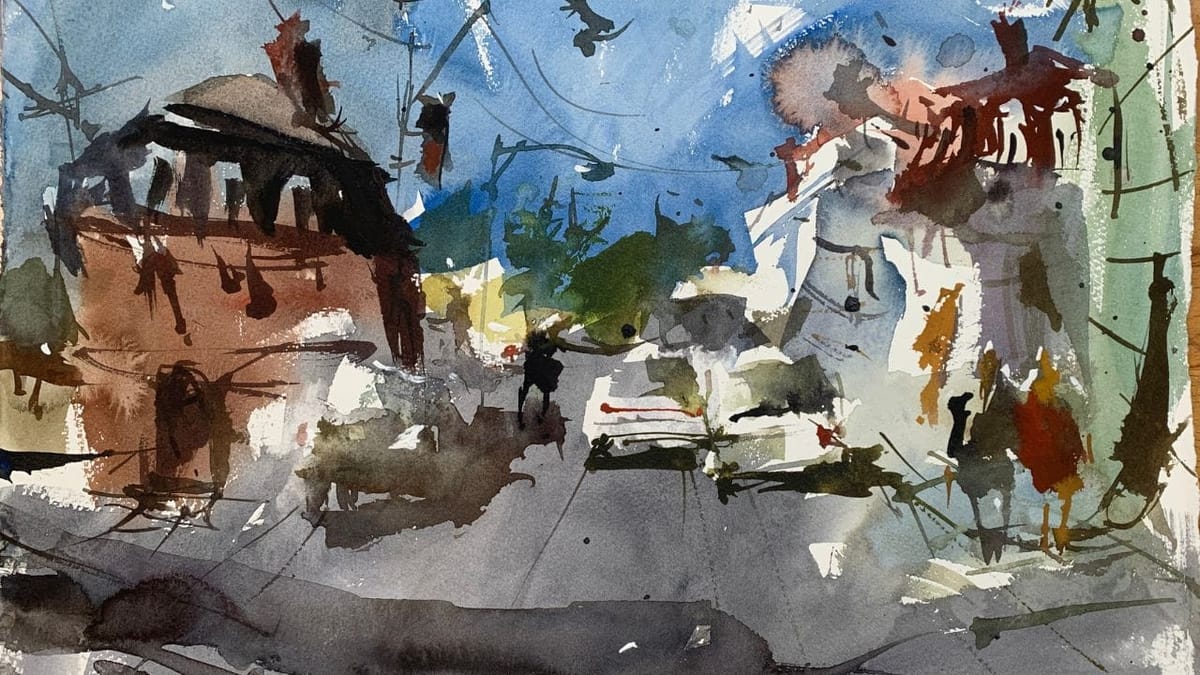
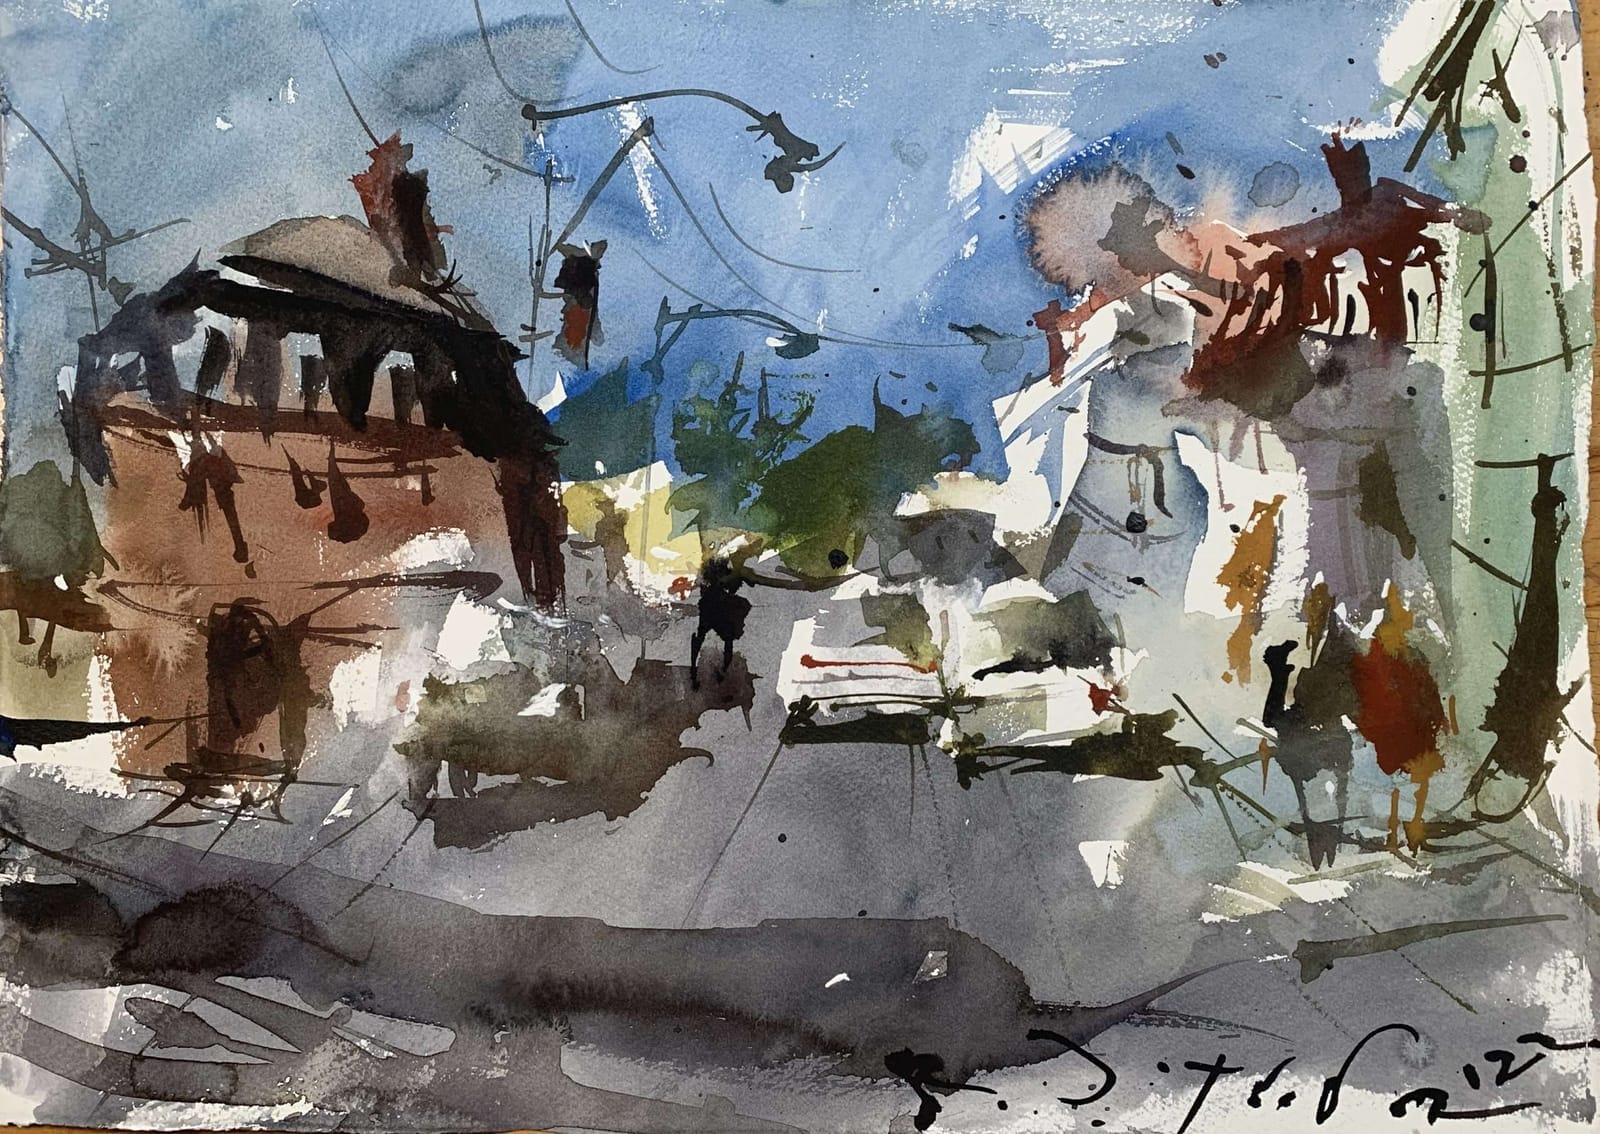
In this tutorial I will share a video demo where I paint an abstract style urban landscape with watercolors. When it comes to painting watercolor urban landscapes, I get all excited because it’s a great opportunity to practice eliminating details and focusing on what matters, the big shapes.
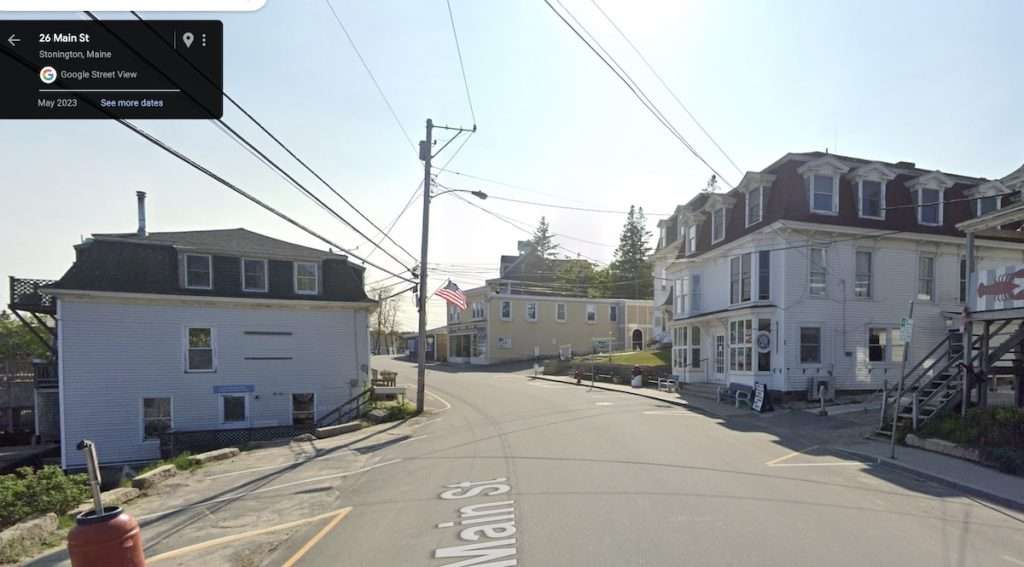
If you look at the inspiration image below, you’ll begin to see what I mean about reducing clutter in order to see the bigger picture. Oh, and in case you’re curious, I found the image using street view on Google Maps. It’s actually a great tool for finding interesting street scenes. Enough of that! Gather your supplies, unleash your creativity, and let’s dive in!
Step-by-Step Guide for Painting and Abstract Urban Watercolor Landscape
- Choose Your Scene and Composition:
Start by selecting an urban landscape scene that inspires you. It could be a city skyline, a bustling street, or a quiet alleyway. Once you’ve chosen your scene, sketch a rough composition lightly on your watercolor paper using a pencil. - Select Your Color Palette:
Watercolor offers a wide range of colors, so choose a palette that captures the mood of your urban landscape. Urban scenes often involve a mix of vibrant and muted colors. Play with contrasting hues to evoke the energy of the city. - Create the Background:
Begin with the sky and background buildings. Use wet-on-wet techniques to blend colors seamlessly. Allow the colors to bleed into each other for a soft and ethereal effect. Remember, this is the abstract interpretation, so don’t worry about realistic details. - Build Layers:
As you move forward, start adding more watercolor layers to your painting. Let each layer dry before applying the next one. This will create depth and dimension in your artwork. - Experiment with Textures:
Use a variety of brushstrokes to create textures that mimic the urban environment. Try dry-brushing for rough surfaces, and use salt to add a unique texture to areas like roads or pavements. - Incorporate Geometric Shapes:
Urban landscapes are often characterized by geometric shapes. Incorporate triangles, rectangles, and squares to represent buildings, windows, and architectural elements. Don’t be afraid to overlap shapes for a dynamic composition. - Add Splashes of Color:
Use vibrant splashes of color to represent street signs, graffiti, or storefronts. These unexpected bursts of color can add a playful and eye-catching element to your abstract urban landscape. - Embrace Negative Space: Negative space
can be as important as the painted areas. Allow white spaces to represent light reflections, windows, or open spaces between buildings. - Final Touches and Details:
Once you’re satisfied with the overall composition, you can add some subtle details using fine brushes. These details could be minimalistic windows, lamp posts, or distant figures. - Remove Masking (if used):
If you used masking tape or frisket, carefully remove it to reveal sharp, clean edges in your painting.
Suggested Material Checklist
Materials can make or break the outcome of a watercolor study. Watch the video that covers the best watercolor materials if you need more specifics about color choices, brush sizes and such. Basically, it’s exactly what I use and recommend for all levels.
Watercolor Paints: Opt for artist-grade watercolor paints in a range of colors. Choose a basic palette that includes six primary colors (one cool and warm hue for each one including red, blue, and yellow) along with earth tones for a versatile collection.
If you aren’t aware of the six primary palette, then check out our in-depth article on how to mix watercolors for beginners. It has the exact hues I use for every painting. And, if I make changes, I always update the article so you know the exact hues that get the best results.
Brushes: Invest in a set of good-quality watercolor brushes with different shapes and sizes. Round brushes are excellent for detailed work, while flat brushes are great for larger washes. I’d recommend one medium and one large pointed round. Then get a large mop brush that will handle those initial washed that are applied in the very beginning.
You only need three brushes to do most of the heavy lifting! However, I do recommend having a dagger and possibly and Motler on hand as well. Check out the article I wrote on how to choose the best watercolor brushes if you have questions on the exact brands, sizes and such.
Paper: I highly recommend selecting watercolor paper specifically designed for this medium. Look for papers labeled “cold-pressed” or “hot-pressed” to suit your preferred texture. Experiment with different weights and brands to find the one that suits your style. Most beginners choose 140 lb. cold press to start their journey. Hot press tends to be a little slick and most used for highly detailed work and portraits.
Avoid cheap, wood pulp papers as they don’t react properly to washes and other techniques. These cheaper papers tend to break down quickly and don’t age well either, basically yellowing over time. Be sure to read the how to choose the best watercolor paper article when you have time.
If you aren’t aware of the six primary palette, then check out our in-depth article on how to mix watercolors for beginners. It has the exact hues I use for every painting. And, if I make changes, I always update the article so you know the exact hues that get the best results.
Palette: A palette is essential for mixing and diluting your watercolors. Choose a palette with wells to hold different colors and a large mixing area. Small palettes tend to get dirty too quick and I found it difficult to have enough free space to mix enough colors without having to stop everything to clean up. The Masterson Pro palette works great and available at Amazon and Blick Art.
Water Containers: Have at least two containers for water—one for rinsing your brushes and another for clean water. Make sure the containers aren’t too small, and I would recommend plastic over glass. I’ve had plenty of studio accidents and cleaning up shattered glass isn’t ideal when in a creative mode.
Masking Tape and Drawing Board: Masking tape helps secure your paper to a drawing board, keeping it flat and preventing it from warping. The tape is optional and depends if you prefer the clean edges. In the beginning you will most likely focus on sketches and studies, so maybe pass until you determine later on if you need it.
A smooth, firm board is a must! I recommend Gator foam board as it’s very sturdy, smooth and durable. Fairly inexpensive and light weight to boot. That covers materials, let’s move on to skills you need to start watercolor painting.
Conclusion
Painting an abstract watercolor urban landscape is a liberating and exciting journey. By letting go of the constraints of realism, you open up endless possibilities for creative expression.
Remember, there are no mistakes in abstract art – only opportunities to experiment and explore. So, gather your materials, set up your creative space, and embark on this artistic adventure. Whether you’re an experienced watercolorist or just starting, the process of creating an abstract urban landscape is a wonderful way to push your boundaries and discover the beauty of imperfection. Just go for it!
