Learn How to Paint Abstract Watercolor Urban Scenery
Today you will learn how to paint abstract watercolor urban scenery using my unique approach and ideas. Includes step-by-step video tutorial!
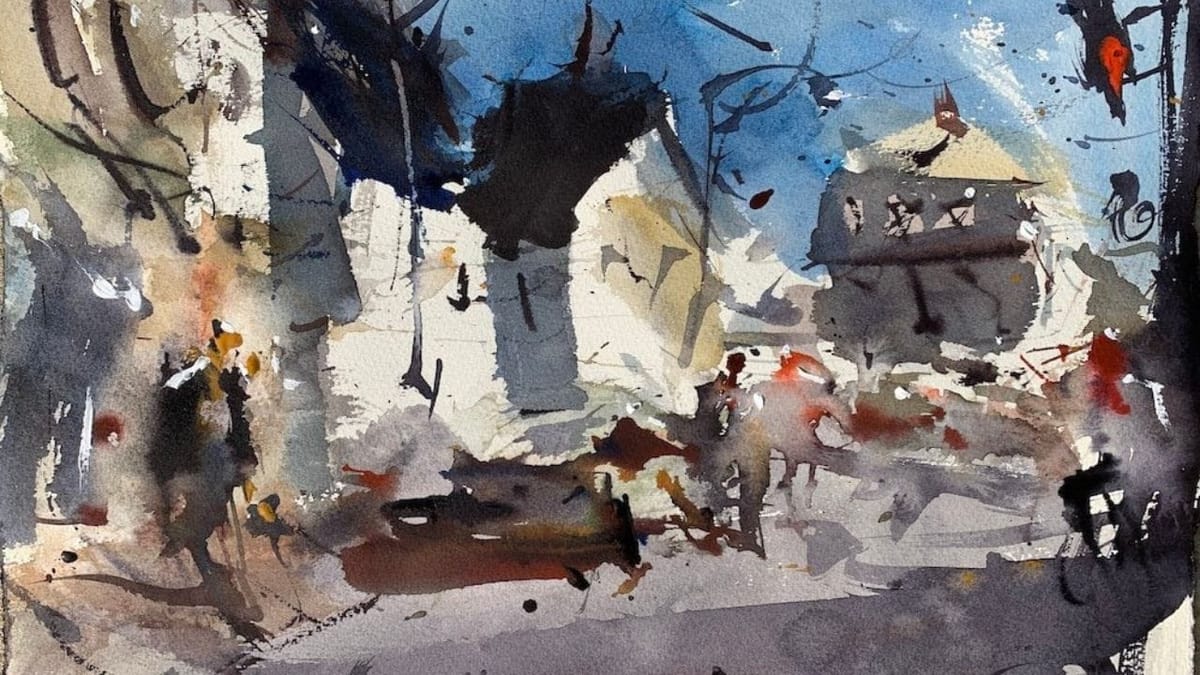
In this tutorial, we will guide you through the steps of creating your own abstract urban watercolor masterpiece. Be sure to watch the accompanying 10-minute video tutorial and explore the resource images provided for inspiration and reference.
Watercolor painting is a captivating and versatile medium that can capture the essence of urban landscapes in a unique and expressive way. Abstract urban landscapes, in particular, provide a creative outlet to showcase the energy and vibrancy of city life while allowing for personal interpretation and artistic freedom.
Step-by-Step Urban Landscape Tutorial
Step 1: Sketching Your Composition
Begin by lightly sketching the basic shapes of your urban landscape. Focus on major elements like buildings, roads, and landmarks. Don’t worry about intricate details at this stage; the goal is to establish a loose framework for your painting.
Step 2: Applying Masking (Optional)
If you want to preserve certain areas of your painting, like highlights or sharp edges, apply masking fluid with a brush or pen. This will create a barrier that prevents the paint from reaching the paper.
Step 3: Mixing Colors
Before you start painting, take some time to mix your colors on a palette. Urban landscapes often feature a range of grays, blues, and muted tones. Experiment with combining colors to achieve the desired shades for your buildings, sky, and other elements.
Step 4: Painting the Background
Begin by wetting the paper in the sky area with clean water. Then, apply a light wash of your chosen sky color, allowing it to blend and create a soft gradient. Let the paint dry before moving on to the next step.
Step 5: Adding Buildings and Structures
Using a medium-sized round brush, start adding the shapes of buildings and structures. Allow the paint to bleed slightly to create soft edges. Use darker tones for shadows and architectural details. Don’t strive for precision—embrace the spontaneous nature of watercolors.
Step 6: Creating Texture and Depth
To add texture and depth to your urban landscape, experiment with techniques like dry brushing, splattering, and lifting off paint with a clean, damp brush. These techniques can simulate the texture of brick walls, pavement, and reflective surfaces.
Step 7: Embracing Abstraction
As you work on your painting, remember that the goal is to capture the essence of the urban landscape rather than replicating every detail. Embrace abstraction by allowing colors to blend on the paper, creating interesting visual effects that evoke the energy of the city.
Step 8: Final Details and Accents
Once the initial layers are dry, add final details and accents to your painting. Use finer brushes to define windows, doors, and other architectural features. Consider using ink or pen for sharper lines if desired.
Step 9: Removing Masking (If Used)
If you applied masking fluid, carefully remove it with your fingers or an eraser to reveal the preserved areas. This step can add striking highlights to your painting.
Step 10: Review and Refine
Take a step back and review your painting. Evaluate the composition, balance of colors, and overall impression. Make any necessary refinements to ensure your vision is effectively communicated.
Suggested Material Checklist
Materials can make or break the outcome of a watercolor study. Watch the video that covers the best watercolor materials if you need more specifics about color choices, brush sizes and such. Basically, it’s exactly what I use and recommend for all levels.
Watercolor Paints: Opt for artist-grade watercolor paints in a range of colors. Choose a basic palette that includes six primary colors (one cool and warm hue for each one including red, blue, and yellow) along with earth tones for a versatile collection.
If you aren’t aware of the six primary palette, then check out our in-depth article on how to mix watercolors for beginners. It has the exact hues I use for every painting. And, if I make changes, I always update the article so you know the exact hues that get the best results.
Brushes: Invest in a set of good-quality watercolor brushes with different shapes and sizes. Round brushes are excellent for detailed work, while flat brushes are great for larger washes. I’d recommend one medium and one large pointed round. Then get a large mop brush that will handle those initial washed that are applied in the very beginning.
You only need three brushes to do most of the heavy lifting! However, I do recommend having a dagger and possibly and Motler on hand as well. Check out the article I wrote on how to choose the best watercolor brushes if you have questions on the exact brands, sizes and such.
Paper: I highly recommend selecting watercolor paper specifically designed for this medium. Look for papers labeled “cold-pressed” or “hot-pressed” to suit your preferred texture. Experiment with different weights and brands to find the one that suits your style. Most beginners choose 140 lb. cold press to start their journey. Hot press tends to be a little slick and most used for highly detailed work and portraits.
Avoid cheap, wood pulp papers as they don’t react properly to washes and other techniques. These cheaper papers tend to break down quickly and don’t age well either, basically yellowing over time. Be sure to read the how to choose the best watercolor paper article when you have time.
If you aren’t aware of the six primary palette, then check out our in-depth article on how to mix watercolors for beginners. It has the exact hues I use for every painting. And, if I make changes, I always update the article so you know the exact hues that get the best results.
Palette: A palette is essential for mixing and diluting your watercolors. Choose a palette with wells to hold different colors and a large mixing area. Small palettes tend to get dirty too quick and I found it difficult to have enough free space to mix enough colors without having to stop everything to clean up. The Masterson Pro palette works great and available at Amazon and Blick Art.
Water Containers: Have at least two containers for water—one for rinsing your brushes and another for clean water. Make sure the containers aren’t too small, and I would recommend plastic over glass. I’ve had plenty of studio accidents and cleaning up shattered glass isn’t ideal when in a creative mode.
Masking Tape and Drawing Board: Masking tape helps secure your paper to a drawing board, keeping it flat and preventing it from warping. The tape is optional and depends if you prefer the clean edges. In the beginning you will most likely focus on sketches and studies, so maybe pass until you determine later on if you need it.
A smooth, firm board is a must! I recommend Gator foam board as it’s very sturdy, smooth and durable. Fairly inexpensive and light weight to boot. That covers materials, let’s move on to skills you need to start watercolor painting.
Here’s a useful article that covers the best watercolor materials for beginners and advanced artists. Check it out.
Finding Inspiration
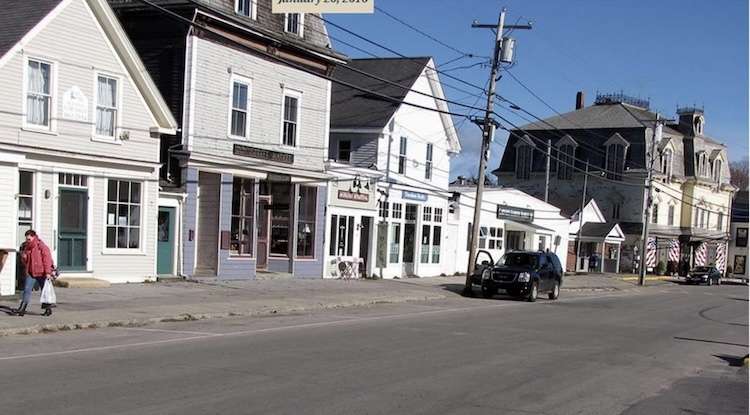
Before you begin, immerse yourself in the world of urban landscapes. Look at photographs, paintings, and artwork that capture the essence of city life. Observe the interplay of light and shadows, the geometry of buildings, and the dynamic movement of people and vehicles. Allow these images to inspire your own interpretation.
Looking for more watercolor landscape inspiration?
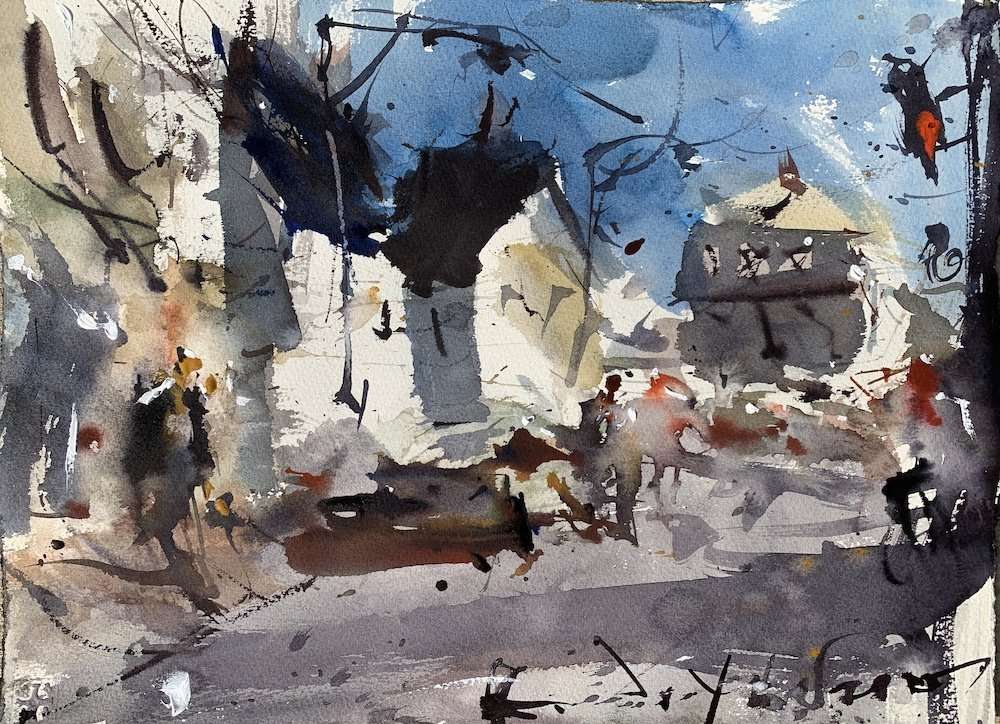
Showcase of Finished Art
Conclusion
Painting an abstract urban landscape with watercolors offers a wonderful opportunity to explore your creativity and connect with the bustling energy of city life.
Remember that each artist’s interpretation will be unique, and the process is just as important as the final result. By following this tutorial and infusing your own artistic expression, you can create a captivating watercolor masterpiece that captures the essence of the urban environment in a fresh and abstract way.
Enjoy the journey of bringing your abstract urban landscape to life!
