5 Hour Masterclass for Watercolor Landscapes
Check out the amazing Free 5 Hour Masterclass for Watercolor Landscapes. Starts at the very beginning and ends with more advanced techniques.
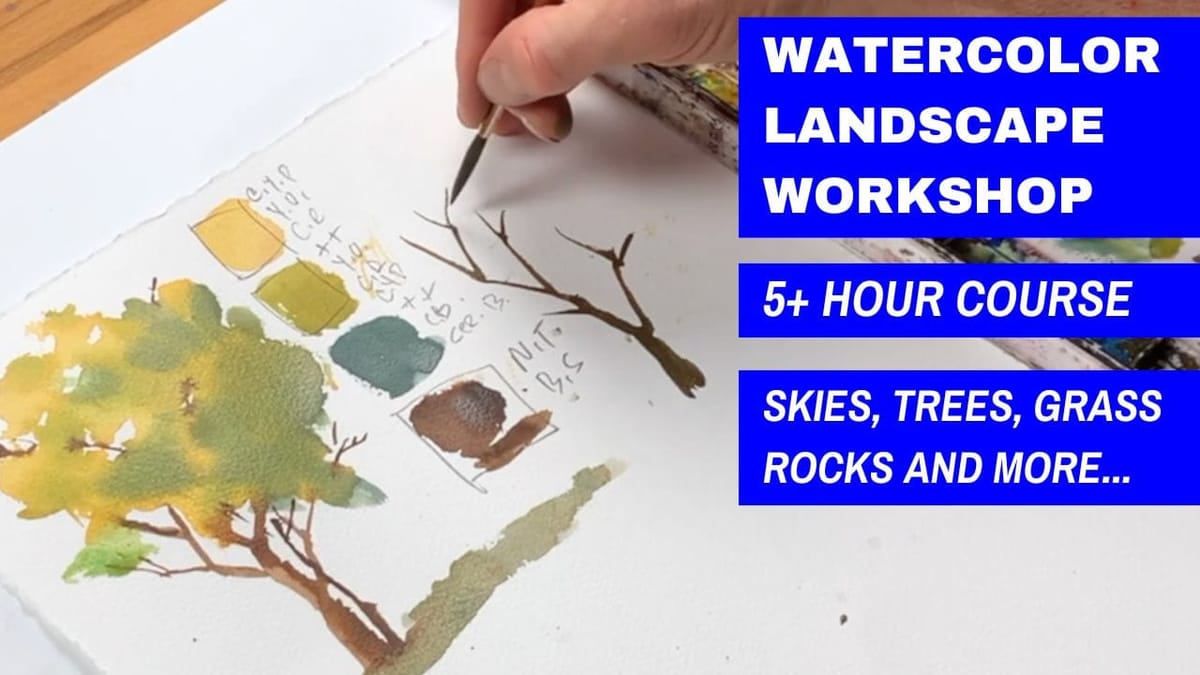
Watercolor landscapes captivate with their ethereal beauty, inviting artists to explore the interplay of light, color, and nature. Whether you’re a beginner or looking to refine your skills, mastering watercolor landscapes can open up a world of creative expression. This free step-by-step course will guide you through the essentials of creating stunning watercolor scenes.
In this tutorial, we’ll dive into the key components of watercolor landscape painting. You’ll learn about essential supplies, fundamental techniques like wet-on-wet and wet-on-dry, and how to paint common landscape elements such as trees, rocks, and clouds. We’ll also explore color mixing, focusing on creating vibrant greens and capturing the nuances of light and shadow. By the end, you’ll have the tools to bring your own watercolor landscapes to life.

Essential Watercolor Supplies and Setup
To begin your watercolor landscape journey, you’ll need a few key supplies. Start with a portable palette, like the Folio Palette from Art Toolkit, which allows you to customize your color selection. Choose colors that mimic nature, focusing on sky hues, earth tones, and a variety of blues. Avoid including a premixed green; instead, learn to mix your own for more natural-looking foliage.
For paper, opt for 300 gsm (140 lb) weight to prevent buckling. Cold-pressed (NOT) paper is versatile and great for beginners, while hot-pressed is smooth for detailed work, and rough paper adds texture to landscapes. Quality brushes are crucial – a round brush (size 8 or 10) and a larger wash brush will cover most needs. Don’t forget a water container, paper towels, and a board to tape your paper to. With these essentials, you’re ready to start creating stunning watercolor landscapes.
Mastering Fundamental Watercolor Techniques
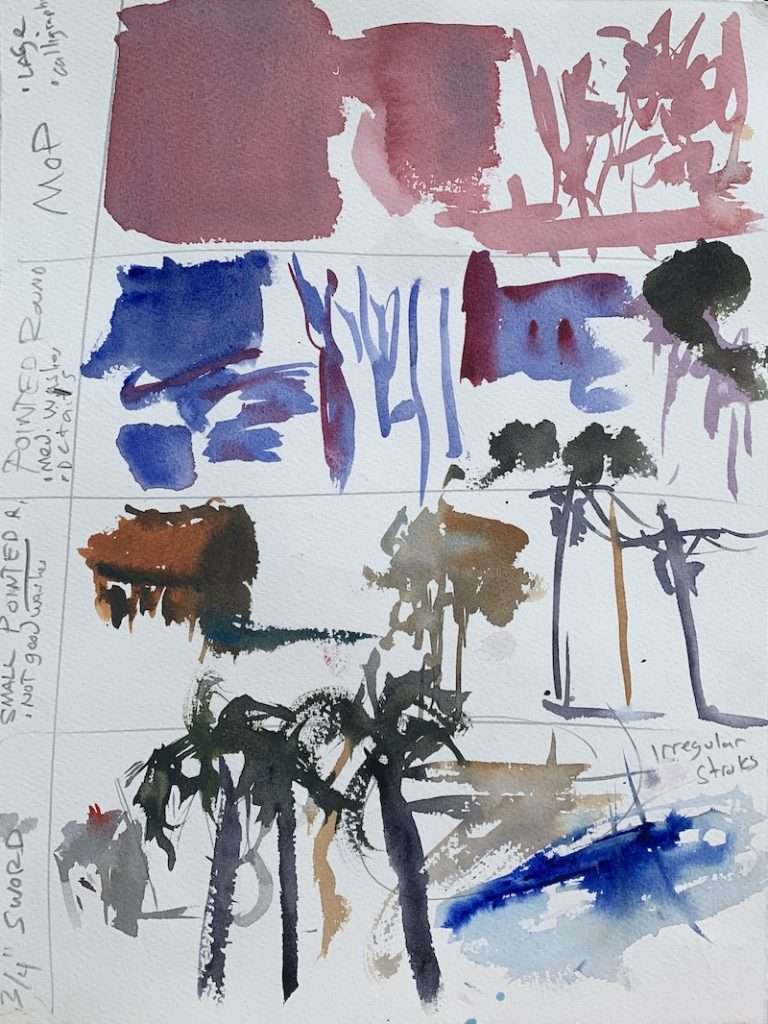
To create stunning watercolor landscapes, it’s crucial to master fundamental techniques. I wrote an in depth article a=on that so be sure to check out the ultimate guide to learning watercolor techniques. Start with wet-on-wet, where you apply wet paint to damp paper, creating soft, blended effects perfect for skies and water. Next, try wet-on-dry, applying paint to dry paper for more control and defined shapes, ideal for trees and rocks. Experiment with layering, building up color gradually to add depth and dimension to your landscape. Practice color mixing, focusing on creating vibrant greens for foliage by blending yellows and blues. Don’t forget to explore dry brush techniques for adding texture to rocks and tree bark. Remember, timing is everything in watercolor – patience and practice will help you achieve the desired effects in your landscape paintings.
Painting Key Landscape Elements
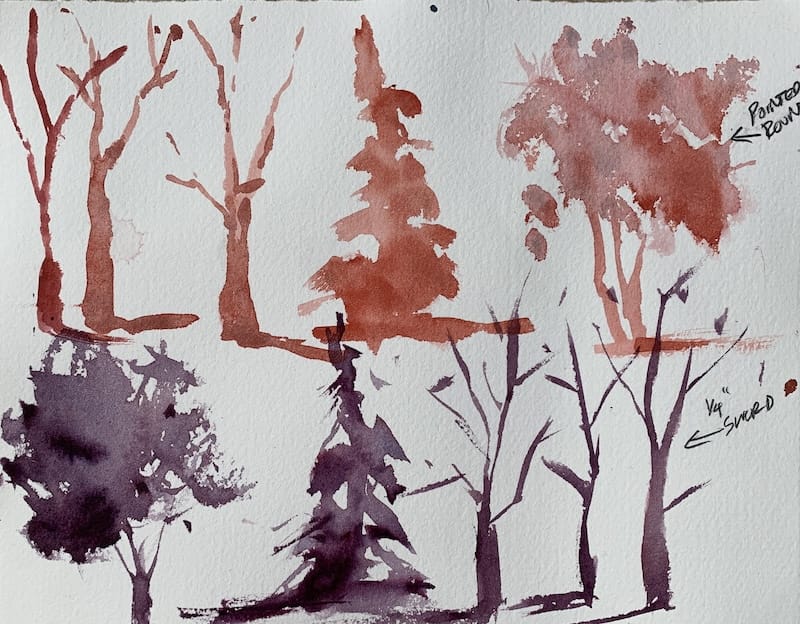
To create stunning watercolor landscapes, mastering key elements is crucial. Start with trees, using a series of washes to build depth and texture. Paint light to dark, adding details gradually. For rocks, use expressive strokes and vary colors to create interest.
When painting water, remember it’s a dulled mirror; reflections should be slightly muted. Clouds require careful observation of shape and light. Use wet-on-wet techniques for soft edges and wet-on-dry for defined shapes. For foliage, mix your own greens using yellows and blues to achieve natural-looking hues. Remember, the further away elements are, the lighter and less detailed they should appear. This creates depth in your landscape.
Practice these elements individually before combining them in a complete watercolor landscape painting.
Putting It All Together: Complete Landscape Painting
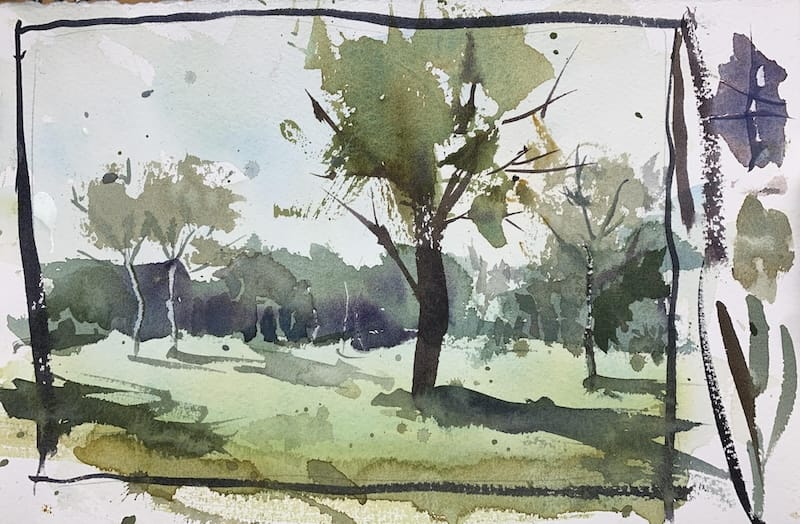
Now it’s time to bring all the elements together in your watercolor landscape. Start by sketching your composition lightly, focusing on the main shapes and horizon line. Consider the rule of thirds to create a balanced scene.
Begin with the sky, using wet-on-wet technique to create soft clouds. Move on to the distant hills, keeping edges soft and colors cool. Add middle-ground elements like trees and rocks, gradually increasing detail and contrast.
For the foreground, use wet-on-dry technique to paint foliage, mixing vibrant greens. Remember to vary your edges and create depth through color and value changes. Finally, add finishing touches like shadows and highlights to bring your landscape to life.
Conclusion
Watercolor landscapes offer a captivating way to capture the beauty of nature on paper. This step-by-step course has provided you with the essential tools and techniques to begin your journey in this enchanting art form. From selecting the right supplies to mastering fundamental techniques and painting key landscape elements, you now have a solid foundation to create your own stunning watercolor scenes.
As you continue to practice and refine your skills, remember that each painting is a chance to learn and grow as an artist. The interplay of water, pigment, and paper creates endless possibilities for expression. So grab your brushes, let your creativity flow, and enjoy the process of bringing landscapes to life through the magical medium of watercolor. Your artistic journey has just begun, and the world of watercolor landscapes awaits your unique vision and interpretation.
