Learn Abstract Urban Watercolor Landscape Techniques
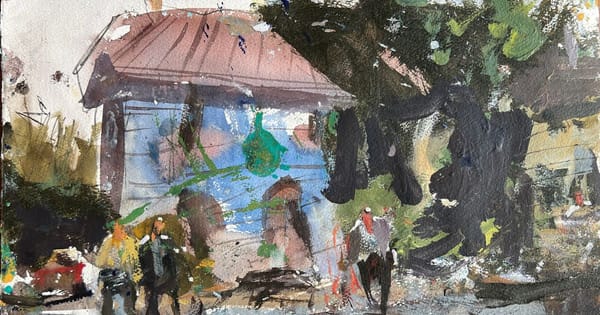
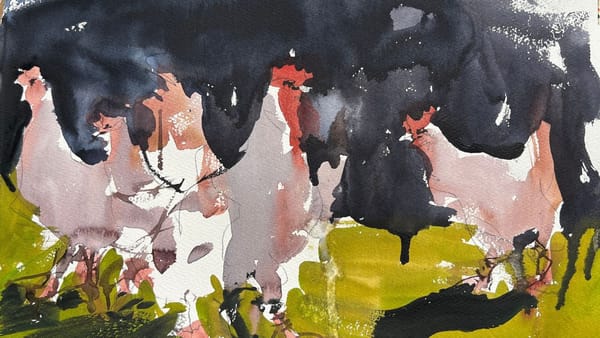
Learn abstract urban watercolor landscape techniques that will loosen up your paintings. If you are tired of tight, rigid art, watch this video!
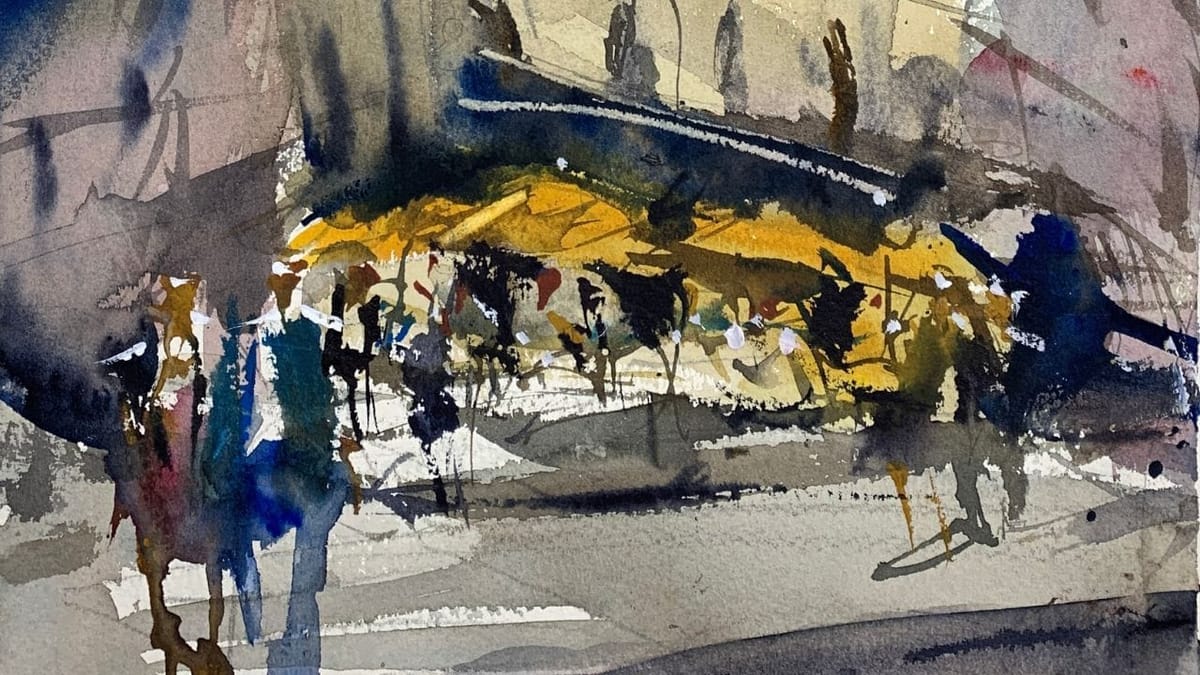
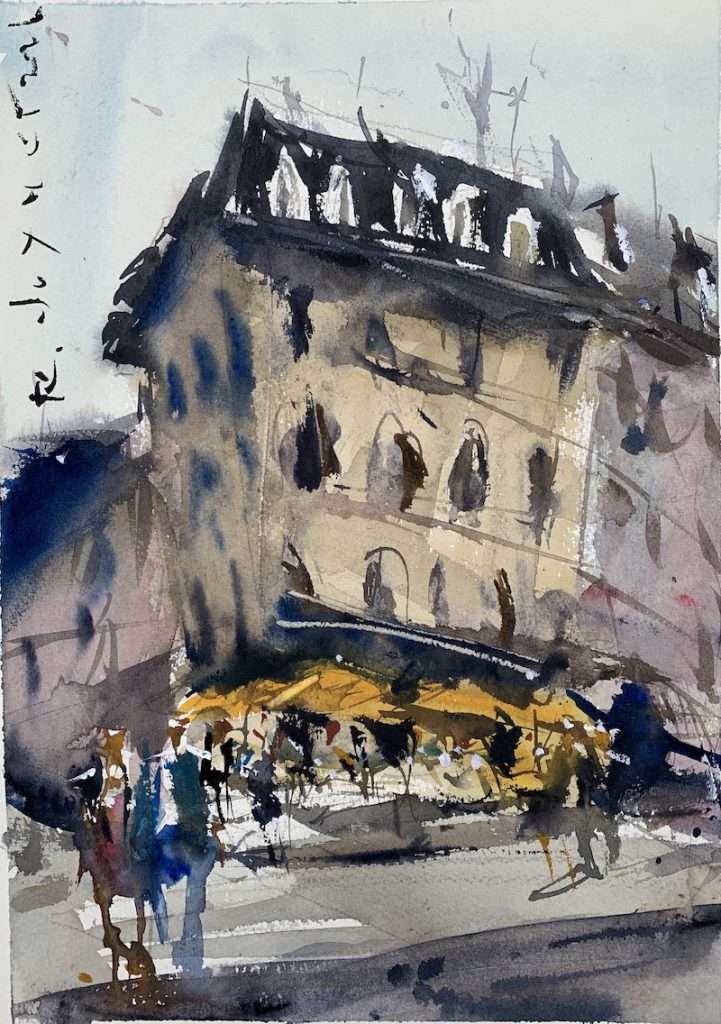
Welcome to an exciting journey into the world of loose and abstract urban watercolor landscapes. In this blog post, we’ll explore the liberating and expressive style of painting that allows you to break free from conventions and embrace the unexpected.
Whether you’re a seasoned artist looking to infuse more spontaneity into your work or a beginner eager to explore a unique approach, this guide and accompanying video tutorial (below) are here to inspire and guide you.
Abstract Urban Watercolor Landscapes Video Tutorial
The Beauty of Imperfection; One of the fundamental principles of painting loosely is embracing imperfections. Unlike traditional approaches that strive for precision, this style encourages you to see mistakes as opportunities rather than setbacks. In our video tutorial, you’ll witness how a seemingly ‘wrong’ brushstroke or a color that doesn’t quite match your initial vision can lead to beautiful and unexpected results. By allowing these unplanned elements to coexist with your original intent, you create artwork that feels alive and dynamic.
Looking for more watercolor landscape painting ideas?
Resilience and Adaptation; Our video demonstration will undoubtedly feature moments where things don’t go as planned. But instead of abandoning the painting in frustration, we’ll show you how to adapt and evolve your work based on these unplanned occurrences. This resilience in the face of artistic challenges is a hallmark of loose painting. It encourages you to stay open to new possibilities and turn ‘mistakes’ into innovative solutions.
Tips for Painting More Expressively
Choose Your Moment; Urban landscapes are bustling with life, and painting them in a loose style allows you to capture the energy and spontaneity of a specific moment. Before starting your artwork, take a moment to observe your chosen scene closely. What captures your attention? Is it the play of light and shadow on a building’s facade, the movement of people in a busy street, or the contrast between the urban environment and nature? Identifying your focal point will guide your composition and brushwork.
Limit Your Palette
A limited color palette can enhance the impact of your loose urban landscape. By focusing on a handful of key colors, you can create harmony and cohesion within your artwork. Our video tutorial will demonstrate how to select colors that resonate with your chosen scene, infusing your painting with atmosphere and emotion.
Dynamic Brushwork
Loose painting is all about spontaneity, and your brushwork should reflect this spirit. Experiment with bold strokes, quick washes, and expressive gestures to capture the essence of your urban landscape. Don’t be afraid to switch brushes or even use unconventional tools to achieve the desired effect. Our video tutorial will showcase various brushwork techniques that add life and movement to your artwork.
One of my favorite go-to brushes is the sword brush. It’s versatile and capable of making a variety of expressive strokes. Check out that one and my other dependable, and affordable, watercolor brushes in the article below.
The Power of Patience
In our video tutorial, you’ll witness firsthand how patience plays a vital role in the process of loose painting. It’s about staying committed to the journey, even when things don’t go as planned. By allowing your painting to evolve naturally and embracing the unexpected, you’ll discover the true magic of this artistic style.
Suggested Material Checklist
Materials can make or break the outcome of a watercolor study. Watch the video that covers the best watercolor materials if you need more specifics about color choices, brush sizes and such. Basically, it’s exactly what I use and recommend for all levels.
Watercolor Paints: Opt for artist-grade watercolor paints in a range of colors. Choose a basic palette that includes six primary colors (one cool and warm hue for each one including red, blue, and yellow) along with earth tones for a versatile collection.
If you aren’t aware of the six primary palette, then check out our in-depth article on how to mix watercolors for beginners. It has the exact hues I use for every painting. And, if I make changes, I always update the article so you know the exact hues that get the best results.
Brushes: Invest in a set of good-quality watercolor brushes with different shapes and sizes. Round brushes are excellent for detailed work, while flat brushes are great for larger washes. I’d recommend one medium and one large pointed round. Then get a large mop brush that will handle those initial washed that are applied in the very beginning.
You only need three brushes to do most of the heavy lifting! However, I do recommend having a dagger and possibly and Motler on hand as well. Check out the article I wrote on how to choose the best watercolor brushes if you have questions on the exact brands, sizes and such.
Paper: I highly recommend selecting watercolor paper specifically designed for this medium. Look for papers labeled “cold-pressed” or “hot-pressed” to suit your preferred texture. Experiment with different weights and brands to find the one that suits your style. Most beginners choose 140 lb. cold press to start their journey. Hot press tends to be a little slick and most used for highly detailed work and portraits.
Avoid cheap, wood pulp papers as they don’t react properly to washes and other techniques. These cheaper papers tend to break down quickly and don’t age well either, basically yellowing over time. Be sure to read the how to choose the best watercolor paper article when you have time.
If you aren’t aware of the six primary palette, then check out our in-depth article on how to mix watercolors for beginners. It has the exact hues I use for every painting. And, if I make changes, I always update the article so you know the exact hues that get the best results.
Palette: A palette is essential for mixing and diluting your watercolors. Choose a palette with wells to hold different colors and a large mixing area. Small palettes tend to get dirty too quick and I found it difficult to have enough free space to mix enough colors without having to stop everything to clean up. The Masterson Pro palette works great and available at Amazon and Blick Art.
Water Containers: Have at least two containers for water—one for rinsing your brushes and another for clean water. Make sure the containers aren’t too small, and I would recommend plastic over glass. I’ve had plenty of studio accidents and cleaning up shattered glass isn’t ideal when in a creative mode.
Masking Tape and Drawing Board: Masking tape helps secure your paper to a drawing board, keeping it flat and preventing it from warping. The tape is optional and depends if you prefer the clean edges. In the beginning you will most likely focus on sketches and studies, so maybe pass until you determine later on if you need it.
A smooth, firm board is a must! I recommend Gator foam board as it’s very sturdy, smooth and durable. Fairly inexpensive and light weight to boot. That covers materials, let’s move on to skills you need to start watercolor painting.
Conclusion
Mastering the art of loose, abstract urban watercolor landscapes is a rewarding endeavor that invites you to see the world with fresh eyes. It’s about celebrating imperfections, adapting to surprises, and infusing your artwork with energy and spontaneity. With the tips and guidance provided in this blog post and our video tutorial, you’re well on your way to creating urban landscapes that are as dynamic and vibrant as the cities they depict. So, grab your brushes, let go of perfection, and embark on this exhilarating artistic journey.
