Advanced Watercolor Wash Techniques
In this tutorial, we will explore advanced wash techniques that will help you elevate your watercolor skills and create stunning works of art.
Watercolor wash techniques are a fundamental aspect of any artist’s skill set. Whether you’re a beginner or an experienced painter, mastering these techniques can take your watercolor paintings to the next level. In this article, we will explore advanced wash techniques that will help you elevate your skills and create stunning works of art.
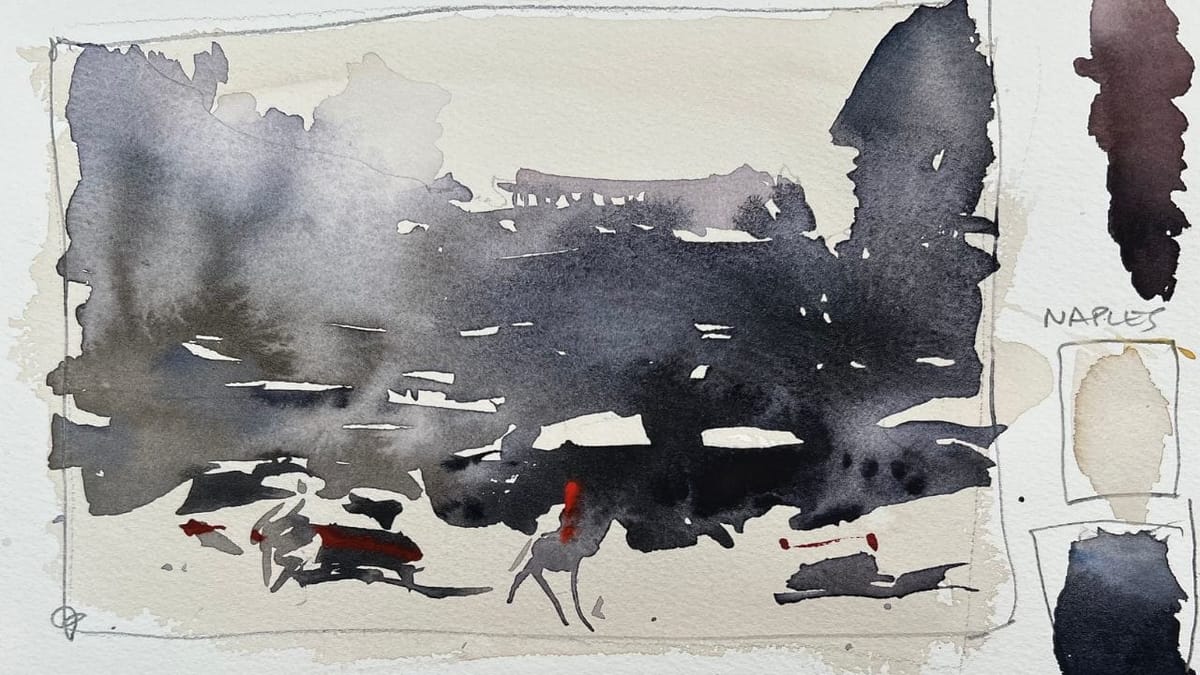
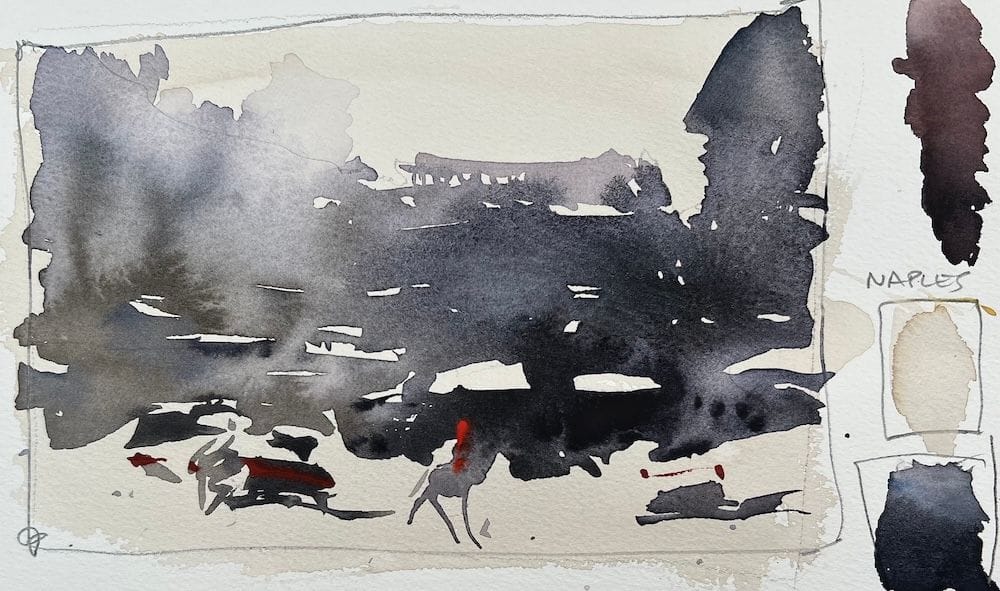
This is the demo art (below)I will create in the video later on for paid members. The sketch incorporates several wash techniques from wet-in-wet, to wet-in-dry, along with gradated methods as well.
Understanding the Different Types of Washes
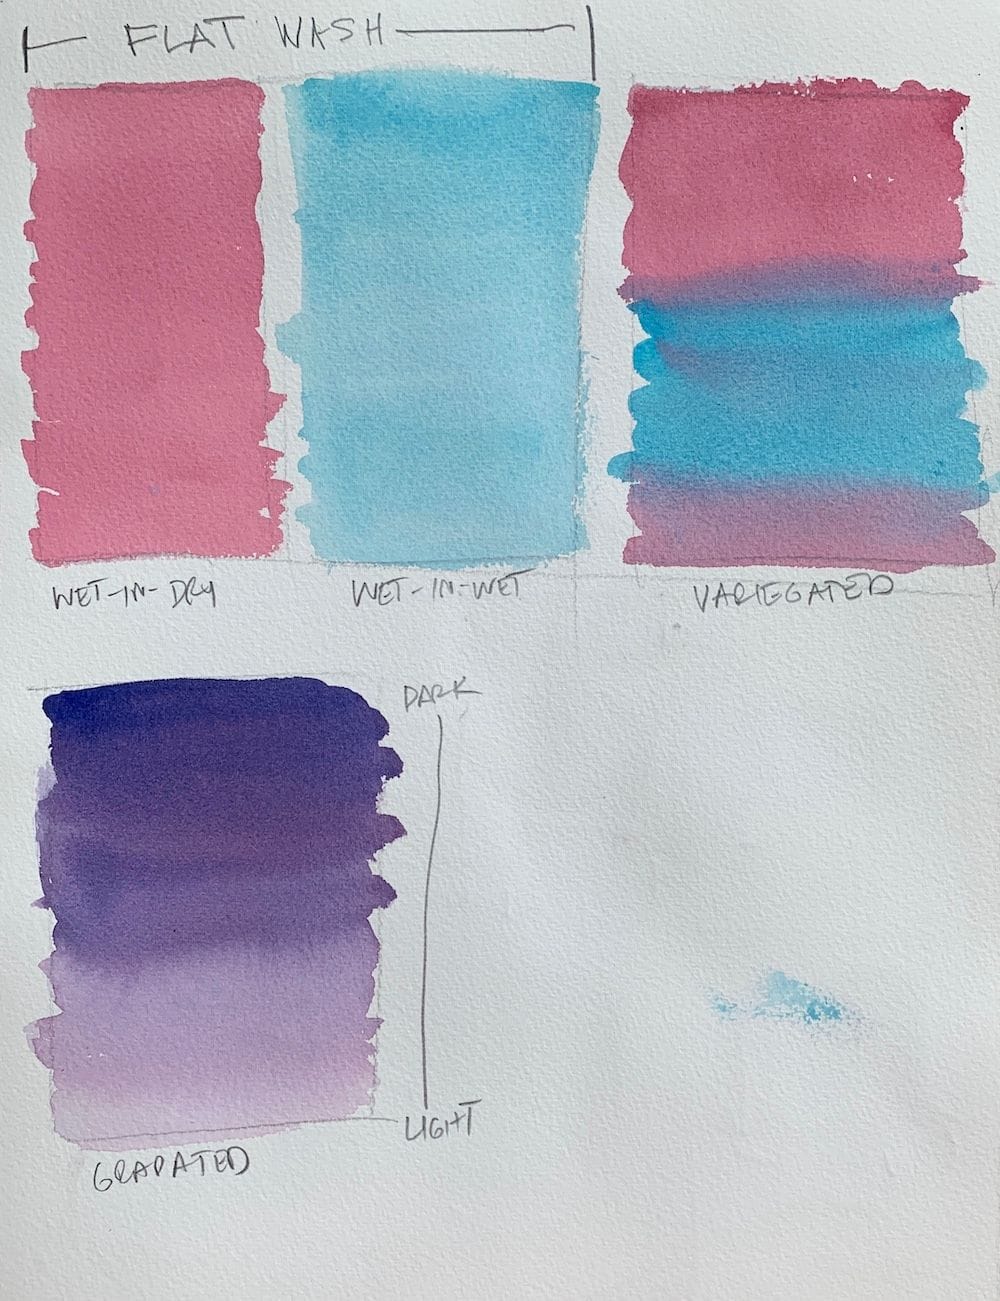
Before delving into advanced wash techniques, it’s important to have a solid understanding of the different types of washes. A wash is essentially a layer of diluted paint that is applied across the entire surface of the paper. There are three main types of washes: flat wash, graded wash, and variegated wash.
A flat wash is the simplest type of wash, where an even layer of color is applied across the paper. It is achieved by wetting the entire surface of the paper and then evenly distributing the diluted paint.
A graded wash is a wash that transitions from one color value to another. It creates a beautiful gradation of color, adding depth and dimension to your paintings. To achieve a graded wash, start with a wet surface and apply a stronger concentration of paint at one end, gradually diluting it as you move across the paper.
A variegated wash is a wash that combines multiple colors to create interesting textures and patterns. It involves applying different colors side by side, allowing them to blend and mingle on the paper.
Mastering the Wet-on-Wet Technique
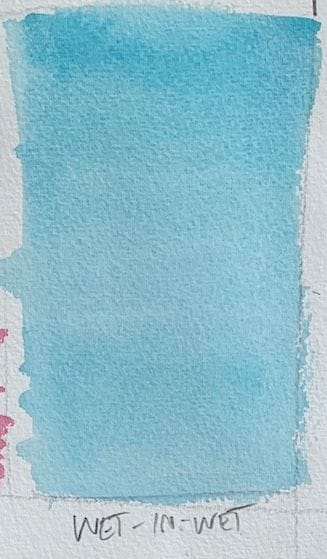
The wet-on-wet technique is a versatile and popular watercolor wash technique. It involves applying wet paint to a wet surface, allowing the colors to blend and create soft edges and gradients. This technique is great for creating atmospheric and dreamy effects in your paintings.
To master the wet-on-wet technique, start by wetting the entire surface of your paper with a brush or a spray bottle. Make sure the surface is evenly moist, but not overly saturated. Then, load your brush with a generous amount of diluted paint and apply it to the wet surface. Observe how the colors interact and blend on the paper. Experiment with different brush strokes, angles, and color combinations to achieve the desired effect.
One important tip for the wet-on-wet technique is to work quickly. The wet surface allows the paint to spread and blend easily, so it’s important to work efficiently before the paper dries. You can also experiment with lifting off some of the wet paint with a clean brush or a tissue to create highlights or add texture to your paintings.
Creating Smooth Gradations with the Wet-on-Dry Technique
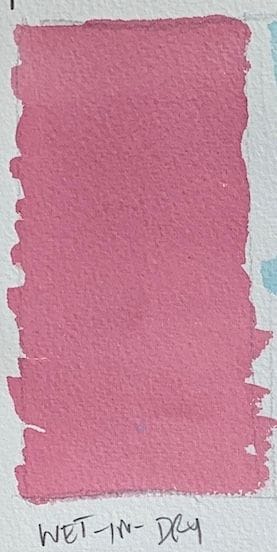
While the wet-on-wet technique is great for soft, blended effects, the wet-on-dry technique is perfect for creating precise and smooth gradations. This technique involves applying wet paint to a dry surface, allowing the colors to stay separate and create distinct edges.
To achieve a smooth gradation with the wet-on-dry technique, start by wetting your brush and loading it with a concentrated amount of paint. Apply the paint to a dry surface, making sure to blend the edges with a clean, damp brush. Gradually dilute the paint as you move across the paper, creating a seamless transition from one color to another.
The key to mastering this technique is control and patience. Take your time to blend the edges and ensure a smooth transition between colors. You can also experiment with different brush sizes and strokes to create interesting textures and effects.
Layering Washes for Depth and Texture
Layering washes is an advanced technique that can add depth and texture to your watercolor paintings. It involves applying multiple washes on top of each other, allowing the previous layers to show through and create interesting effects.
To layer washes, start with a light wash as your base layer. Allow it to dry completely before applying the next layer. Repeat this process, gradually building up the intensity and complexity of your colors. The key is to let each layer dry before adding the next one to prevent them from blending together.
Layering washes can create beautiful effects such as glowing highlights, rich shadows, and intricate textures. Experiment with different color combinations and techniques to achieve the desired results. Remember to work from light to dark, as it’s easier to add more layers than to lighten an already dark area.
Achieving Special Effects with Dry Brush Technique
The dry brush technique is a unique way to add texture and detail to your watercolor paintings. It involves using a dry brush with a minimal amount of paint to create rough, textured strokes on the paper.
To achieve special effects with the dry brush technique, load your brush with a small amount of paint and remove any excess on a paper towel or palette. Then, lightly drag the dry brush across the textured surface of the paper, allowing the rough bristles to create interesting marks and textures. This technique is great for adding details to foliage, rocks, or other textured elements in your paintings.
One important tip for the dry brush technique is to use a brush with stiff bristles, such as a hog bristle brush or a fan brush. These brushes will hold less water and allow you to create dry, textured strokes more effectively. Experiment with different brush sizes and techniques to discover the range of effects you can achieve with the dry brush technique.
Troubleshooting Common Issues with Washes
While working with washes, it’s common to encounter certain issues that can affect the overall quality of your watercolor paintings. Here are a few common problems and their solutions:
Blossoming: Blossoming occurs when the paint spreads uncontrollably on the paper, creating unwanted blooms or puddles. To avoid this, make sure your paper is evenly moist but not overly wet. Work quickly and use less water in your brush to prevent excessive spreading.
Muddy Colors: Muddy colors can result from overmixing too many colors on the paper, creating a dull and lifeless effect. To avoid this, limit the number of colors you mix together and allow each layer to dry before adding the next one. Use a clean brush or a tissue to lift off any unwanted colors or excess paint.
Streaky Washes: Streaky washes occur when the paint doesn’t spread evenly on the paper, leaving visible brush strokes. To achieve smooth washes, make sure your brush is evenly loaded with paint and apply it to the paper in long, continuous strokes. Use a larger brush for larger areas to ensure even coverage.
Tips and Tricks for Advanced Wash Techniques
Here are some additional tips and tricks to help you master advanced wash techniques:
- Experiment with different types of brushes to achieve various effects. Round brushes are great for creating soft edges, while flat brushes can create crisp lines and shapes.
- Practice on different types of paper to understand how each one reacts to washes. Rough paper will create more texture, while smooth paper will give you a smoother, more controlled result.
- Don’t be afraid to mix colors and create your own unique palette. Watercolor is all about experimentation and finding your own artistic voice.
- Take inspiration from other artists and study their techniques. Look for books, tutorials, and workshops that focus on advanced wash techniques to expand your knowledge and skills.
Inspirational Examples of Artists Using Advanced Wash Techniques
To further inspire you in your artistic journey, here are some examples of artists who have mastered advanced wash techniques:
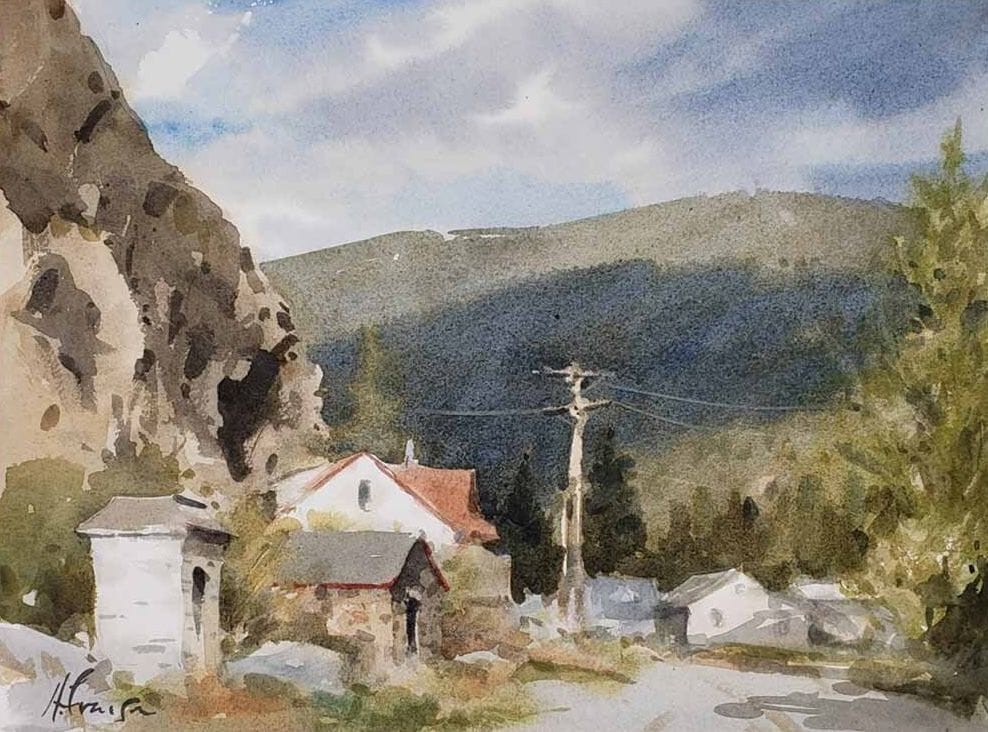
- Andy Evansen – Andy’s use of layered washes creates stunning landscapes with vibrant colors and incredible depth.
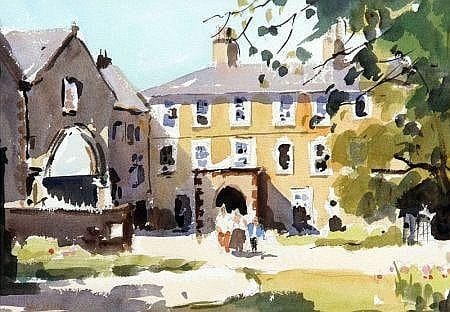
- John Tookey – John’s mastery of the wet-on-dry technique allows him to capture the subtle nuances of light and shadow in his landscapes.
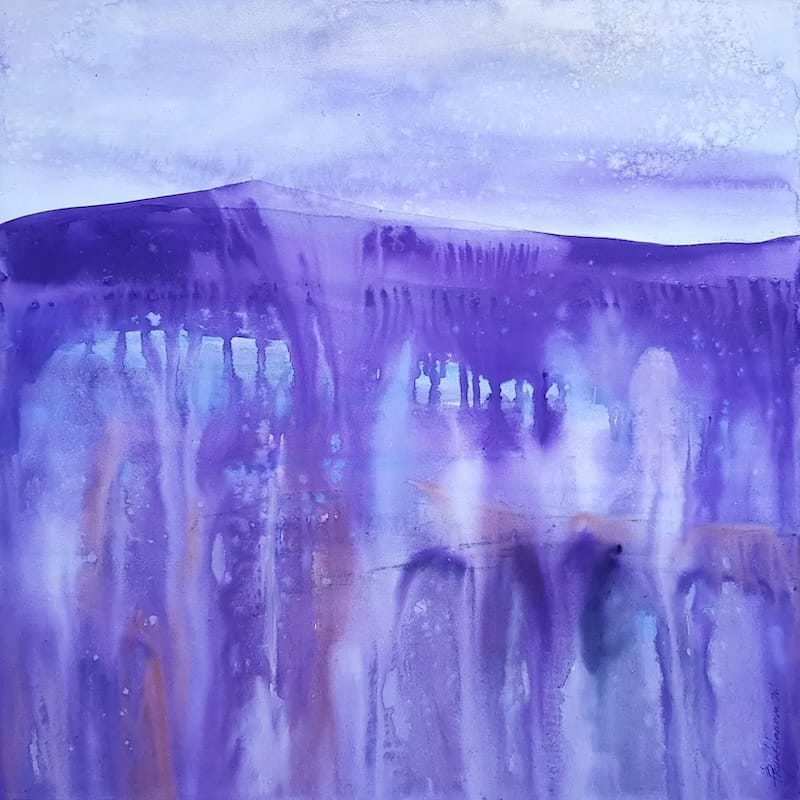
- Maryana Bryukhanova – Maryana’s wet-in-wet technique is on full display ans she allows the washes to run free.
Conclusion
Mastering advanced wash techniques in watercolor can be a challenging but rewarding endeavor. By understanding the different types of washes, practicing various techniques, and experimenting with different brushes and colors, you can elevate your skills and create stunning works of art. Remember to be patient, embrace the process of learning, and most importantly, have fun with your watercolor journey.
