Beginner Watercolor Landscape Painting Guide
Embark on a picturesque journey with our Beginner Watercolor Landscape Painting Guide. Unleash your creativity amidst scenic beauty and more.
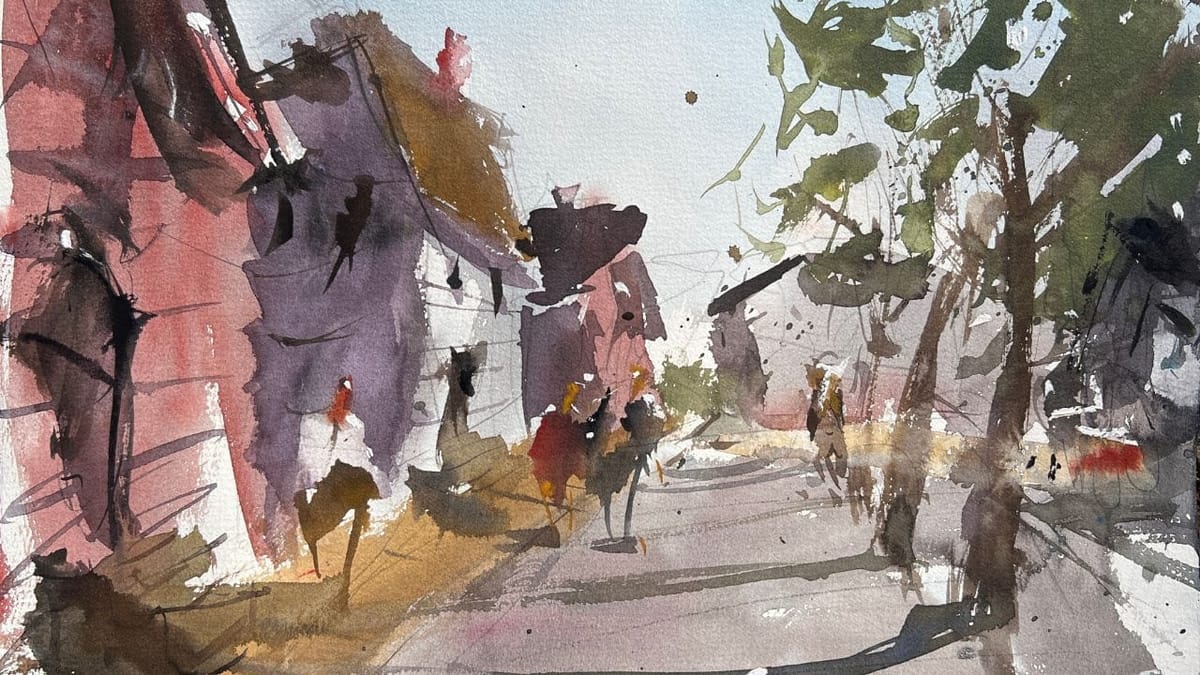
In this beginner watercolor landscape painting guide I will share valuable tips I’ve learned over the past 20 years along with a step-by-step video tutorial. I’ve chosen a subject that’s relatively simple and inspired from Colonial Williamsburg, VA which is in my neck of the woods. But, it’s not so easy that you’ll nod off half way through the painting.
I will say landscapes present a major challenge for many new watercolorists. It takes time to understand all the complexities such as capturing depth, using the right values and saturation for specific areas and so on. After all, we are given a blank piece of white paper and then asked to create this illusion of a landscape on a flat, two-dimensional surface. Not easy, but certainly doable. Just know if you are just starting your watercolor journey, be patient! You got this!
If you’re a beginner eager to embark on a watercolor journey, this comprehensive guide will provide you with step-by-step instructions and tips to paint a stunning watercolor landscape. We’ll kick things off with a short watercolor landscape video demonstration and then I’ll share some more ideas below.
Video demo
Step-by-Step Watercolor Landscape Painting Guide
Here's a helpful guide to steer you along the right path for creating your next watercolor landscape masterpiece. If any of these steps seem unfamiliar, such as design and composition, then spend some time studying it! You are your own best teacher and no one knows your weaknesses as much as you do.
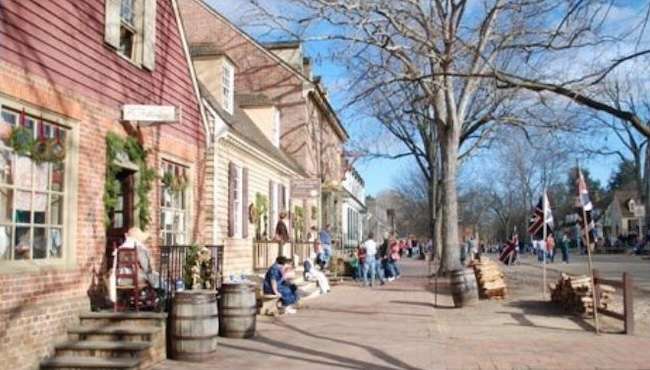
- Choose a reference image: Select a landscape photograph or picture that inspires you. Look for a composition with varied elements like trees, mountains, water bodies, or buildings. I recommend using photos from your area, or a vacation. These places have a special meaning to you and the connection to the art will help you quite a bit. The reference I used for the video demo is above.
- Plan your composition: Use a pencil to lightly sketch the outlines of your composition on the watercolor paper. Divide your paper into thirds (rule of thirds) to create a balanced composition. Composition and design are BIG subjects and not to be neglected if you really want to paint successful art. I’m not going to elaborate too much because that would be a little overwhelming for this lesson. I’ve created several courses on this and you can have a look when you’re up for it. If you want to learn more about this then check out my landscape painting design and composition tutorials.
- Mask off the edges: Secure your paper to a board using masking tape. This step prevents the paper from warping and provides clean edges. Again, if you want those crisp edges, now is the time to make it happen.
- Wet your paper: Moisten your entire paper with clean water using a large brush or a spray bottle. Ensure the paper is evenly wet but not excessively soaked. I don’t always follow this traditional method but many artists really prefer it. I tend to go for the sky, or another major shape to begin a painting.
- Mix your colors: Start by mixing the basic colors required for your landscape. Experiment with different combinations to achieve the desired shades and hues. It’s a good idea to think about a cohesive palette before you start painting. And, AVOID matching colors! This is a losing proposition that usually doesn’t end well. I choose between a chromatic, or a tonal palette. One is more saturated while the other has less intensity, more of a neutral, or gray feel to it. Here's a great article for learning how to color mix with watercolors.
- Apply washes: With a large mop, or quill brush, apply a light valued wash of your desired sky color to the top third of the paper. Blend the colors smoothly while avoiding hard edges. Allow it to dry partially. It’s recommended to use larger brushes in the beginning of a landscape painting. It’s more efficient and reduces the wear and tear on smaller brushes. beyond that, it also creates a less choppy, or stiff painting.
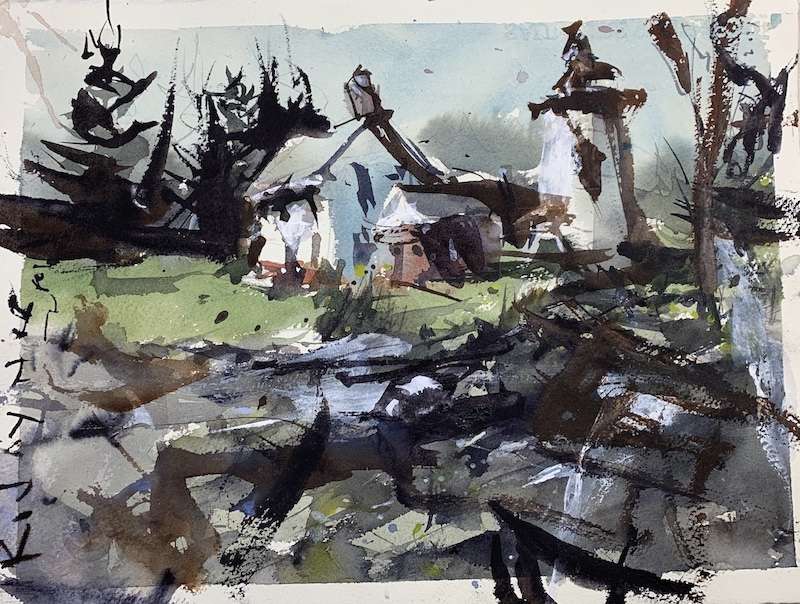
- Paint the background: Proceed to paint the distant elements of the landscape, such as mountains or distant hills. Use lighter colors and gradually build up the layers, maintaining a sense of depth. In this case it was trees and a few homes. Keep the details to a minimum since it’s rarely the focal point of a painting. Too much detail in the distance will reduce the illusion of depth.
- Work on the middle ground: Move on to the middle ground, where you can paint trees, foliage, or structures. Use smaller brushes and add details to create depth and texture. This is usually where the area of interest is in a good design. Therefore, it requires more thought with adding details and color choices. It’s good to have high contrast near the focal point as well as a pop of color, or two.
- Focus on the foreground: Finally, add the foreground elements, which might include rocks, grass, or flowers. Use darker tones, richer colors, and crisp brushstrokes to bring these elements to life. For this painting it was a sidewalk that took up much of the foreground area. Keep in mid it’s a good idea to think about a lead-in to the scene. Many landscape painters use a stream, a road or even a long cast shadow to pull the viewer in to the painting.
- Add details and highlights: Once the layers have dried, use a smaller brush to add fine details like tree branches, leaves, and reflections. Lift off color with a damp brush or paper towel to create highlights. Keep the details located near the point of interest. Sure, you can have them in other areas, too, but too much detail and the freshness is ruined.
- Experiment with techniques: Explore different watercolor techniques like wet-on-wet, dry brush, glazing, and splattering to add interest and texture to your landscape. Each painting should be an exploration of creativity. Always be adventurous in your work. It’s easy to become trite and predictable, so take some risks along your watercolor landscape journey. This tends to pay off if you’re consistent.
- Sign and protect your artwork: Add your signature and protect your artwork with sturdy backing and archival plastic wrap, or protective sleeve.
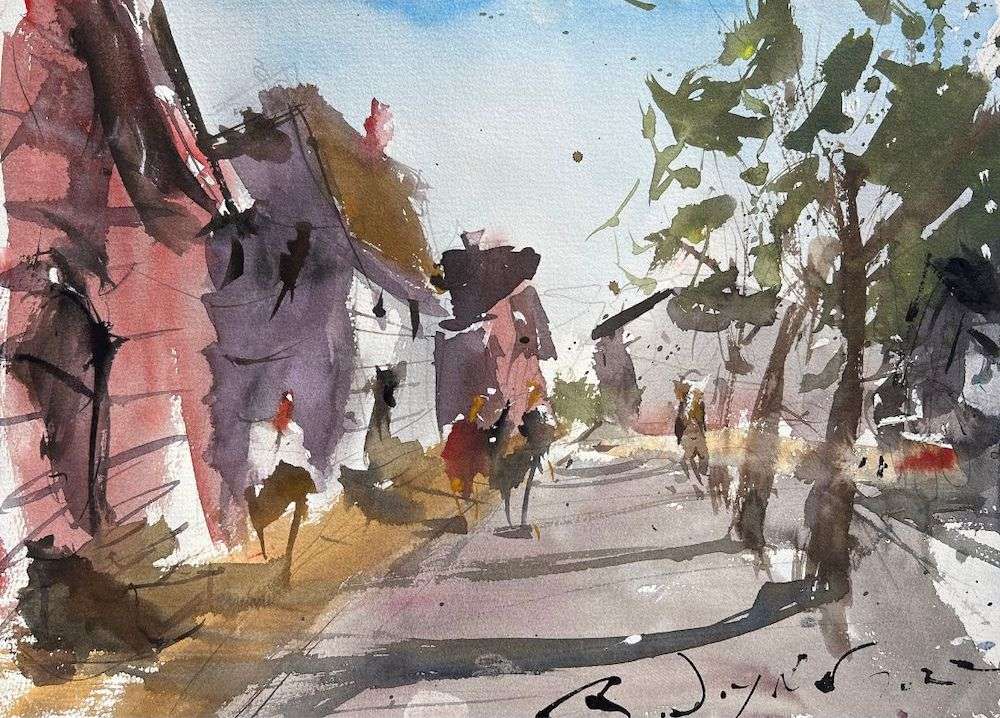
Congratulations! You have successfully completed your watercolor landscape painting. By following this beginner’s guide, you’ve gained valuable insights into the techniques, materials (see them below) and steps involved in creating a captivating watercolor artwork.
I know this was somewhat of a generic step-by-step guide. However, you need a system! This will help you take your subjects and break them down some before paint hits the paper. Steps one and two of the most important of them all! Without a good subject and composition, nothing else matters.
If you want to explore watercolor landscape design and composition, check out ‘How to Plan Awesome Watercolor Landscapes Course. It’s guaranteed to help you as it has many others.
Suggested Material Checklist
Materials can make or break the outcome of a watercolor study. Watch the video that covers the best watercolor materials if you need more specifics about color choices, brush sizes and such. Basically, it’s exactly what I use and recommend for all levels.
Watercolor Paints: Opt for artist-grade watercolor paints in a range of colors. Choose a basic palette that includes six primary colors (one cool and warm hue for each one including red, blue, and yellow) along with earth tones for a versatile collection.
If you aren’t aware of the six primary palette, then check out our in-depth article on how to mix watercolors for beginners. It has the exact hues I use for every painting. And, if I make changes, I always update the article so you know the exact hues that get the best results.
Brushes: Invest in a set of good-quality watercolor brushes with different shapes and sizes. Round brushes are excellent for detailed work, while flat brushes are great for larger washes. I’d recommend one medium and one large pointed round. Then get a large mop brush that will handle those initial washed that are applied in the very beginning.
You only need three brushes to do most of the heavy lifting! However, I do recommend having a dagger and possibly and Motler on hand as well. Check out the article I wrote on how to choose the best watercolor brushes if you have questions on the exact brands, sizes and such.
Paper: I highly recommend selecting watercolor paper specifically designed for this medium. Look for papers labeled “cold-pressed” or “hot-pressed” to suit your preferred texture. Experiment with different weights and brands to find the one that suits your style. Most beginners choose 140 lb. cold press to start their journey. Hot press tends to be a little slick and most used for highly detailed work and portraits. Check out my preferred watercolor paper guide to learn more.
Avoid cheap, wood pulp papers as they don’t react properly to washes and other techniques. These cheaper papers tend to break down quickly and don’t age well either, basically yellowing over time. Be sure to read the how to choose the best watercolor paper article when you have time.
If you aren’t aware of the six primary palette, then check out our in-depth article on how to mix watercolors for beginners. It has the exact hues I use for every painting. And, if I make changes, I always update the article so you know the exact hues that get the best results.
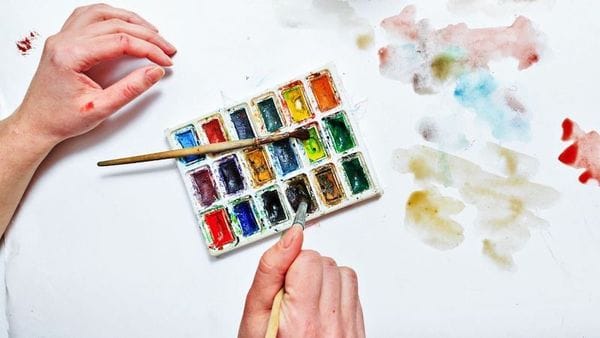
Palette: A palette is essential for mixing and diluting your watercolors. Choose a palette with wells to hold different colors and a large mixing area. Small palettes tend to get dirty too quick and I found it difficult to have enough free space to mix enough colors without having to stop everything to clean up. The Masterson Pro palette works great and available at Amazon and Blick Art.
Water Containers: Have at least two containers for water—one for rinsing your brushes and another for clean water. Make sure the containers aren’t too small, and I would recommend plastic over glass. I’ve had plenty of studio accidents and cleaning up shattered glass isn’t ideal when in a creative mode.
Masking Tape and Drawing Board: Masking tape helps secure your paper to a drawing board, keeping it flat and preventing it from warping. The tape is optional and depends if you prefer the clean edges. In the beginning you will most likely focus on sketches and studies, so maybe pass until you determine later on if you need it.
A smooth, firm board is a must! I recommend Gator foam board as it’s very sturdy, smooth and durable. Fairly inexpensive and light weight to boot. That covers materials, let’s move on to skills you need to start watercolor painting.
Bonus tips for success with watercolor landscapes
Remember, painting with watercolors is a journey of exploration and self-expression. Each landscape you paint will teach you something new and unique. Here are a few additional tips to enhance your watercolor skills:
- Practice regularly: The more you paint, the better you’ll become. Set aside dedicated time for painting and experiment with different subjects and styles.
- Study from nature: Take time to observe the natural world around you. Pay attention to light, shadows, colors, and textures. Use your observations to improve your understanding and interpretation of landscapes.
- Learn from other artists: Explore the works of renowned watercolor artists. Study their techniques, compositions, and use of colors. Attend workshops or online tutorials to learn from experienced artists.
- Embrace mistakes: Mistakes are part of the creative process. Instead of getting discouraged, embrace them as learning opportunities. Experiment, take risks, and allow yourself to make mistakes—it’s through these experiences that you’ll grow as an artist.
- Develop your style: As you gain confidence and proficiency, allow your unique artistic style to emerge. Don’t be afraid to experiment, mix techniques, and develop your own personal touch in portraying landscapes.
Conclusion
The joy of watercolor painting lies in the process itself. Enjoy the journey, embrace the unpredictability of watercolors, and let your creativity flow. With each stroke of the brush, you’ll create breathtaking landscapes that reflect your artistic vision.
So, pick up your brushes, immerse yourself in the world of watercolors, and paint your own masterpiece. Happy painting!
