Beginner Watercolor Tree Painting Techniques
Step-by-step beginner watercolor tree painting techniques, materials, and beginner-friendly examples. Dive into the video demonstration now.
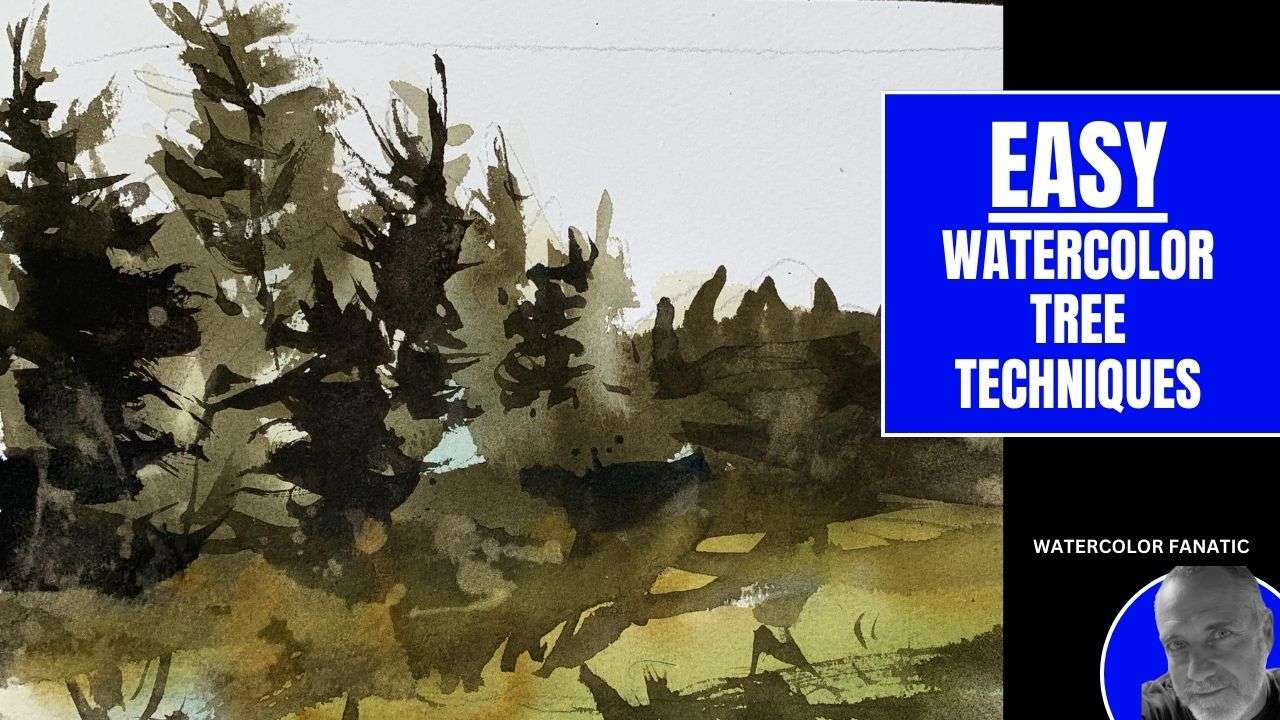
Unleash your inner artist by mastering the techniques of how to paint watercolor trees, where every brushstroke unveils the magic of vibrant hues and intricate textures.
These step-by-step beginner watercolor tree painting techniques will guide you through sketching diverse tree varieties, manipulating light and shadow for depth, and blending colors harmoniously to breathe life into your artistic visions.
How to Paint Simple Pine Trees
In this section, we’ll explore the captivating world of painting simple pine trees with watercolors, a perfect starting point for beginners. Brace yourself for a delightful journey as we unveil four distinct pine tree varieties that will add depth and character to your artistic creations.
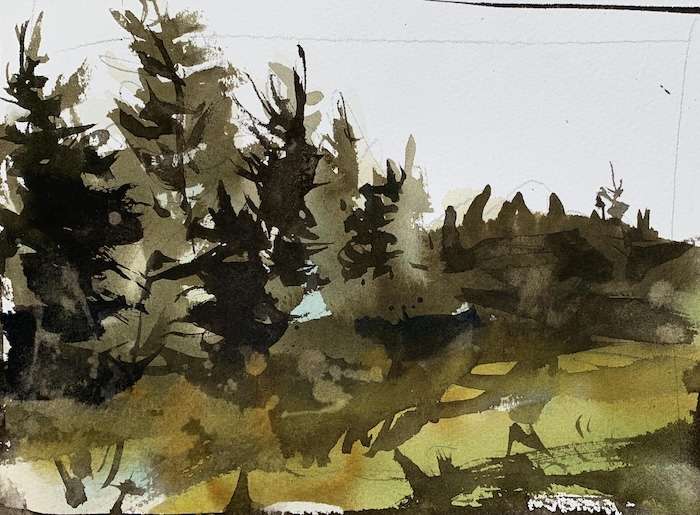
New to watercolor painting? Checkout this awesome beginner’s guide to watercolor painting that’s loaded with all the tips and techniques to get started!
The Classic Pine Tree
- Start by painting an upside-down wide V-shape, allowing the swoops to flare out gracefully towards the sides.
- As you progress downwards, elongate the swooping strokes, creating a mesmerizing cascade of pine needles.
The Zigzag Staircase Pine
- Employ a similar technique to the classic pine tree, but this time, let your brush dance in a zigzag pattern.
- Watch as the branches flare out whimsically at the bottom, resembling a delightful staircase ascending towards the sky.
The Minimalist Background Pine
- For those seeking simplicity, a vertical line with horizontal strokes widening towards the base will suffice.
- These unassuming pines add depth and texture to your background landscapes, complementing the foreground’s grandeur.
The Sparse Foreground Pine
- Featuring a tall, slender trunk and individual swooping branches adorned with delicate “hairs,” this pine tree commands attention in the foreground.
- Its sparse, elongated silhouette adds a touch of whimsy and elegance to your watercolor masterpiece.
To guide you further, here’s an in-depth article for the best watercolor materials that provides links to recommended brushes and a video demonstrating the fourth pine tree technique in action, ensuring you have all the tools necessary to embark on this artistic adventure.

Materials and Supplies
To embark on your watercolor tree painting journey, you’ll need a few essential materials and supplies. Gather the following items, and let your artistic spirit soar:
- Watercolor Paper: Opt for 140 lb cold-pressed watercolor paper, as its textured surface will beautifully capture the intricate details of your brushstrokes.
- Brushes: Equip yourself with a Princeton size 12 brush, renowned for its precise, pointed tip, ideal for rendering delicate branches and needles. Additionally, invest in a set of round and pointed round watercolor brushes, with a size 4 sable hair brush recommended for its exceptional control and versatility.
- Paints: Embrace the vibrant hues of nature with a Mungyo 48-pan watercolor set, offering a vast array of colors to bring your trees to life. For added depth, consider incorporating black watercolor paint as an optional addition.
Watercolor tree painting demand a few essential tools to unleash your creativity:
- Two glasses of clean water, one for rinsing brushes and another for diluting paints
- A towel for blotting excess moisture and maintaining control over your brushstrokes
- A palette or plate for effortlessly mixing and experimenting with colors
- An optional toothbrush for creating unique textures and effects
With these how to paint watercolor trees ideas at your fingertips, you’ll be well-equipped to capture the beauty of nature on paper, one brushstroke at a time.
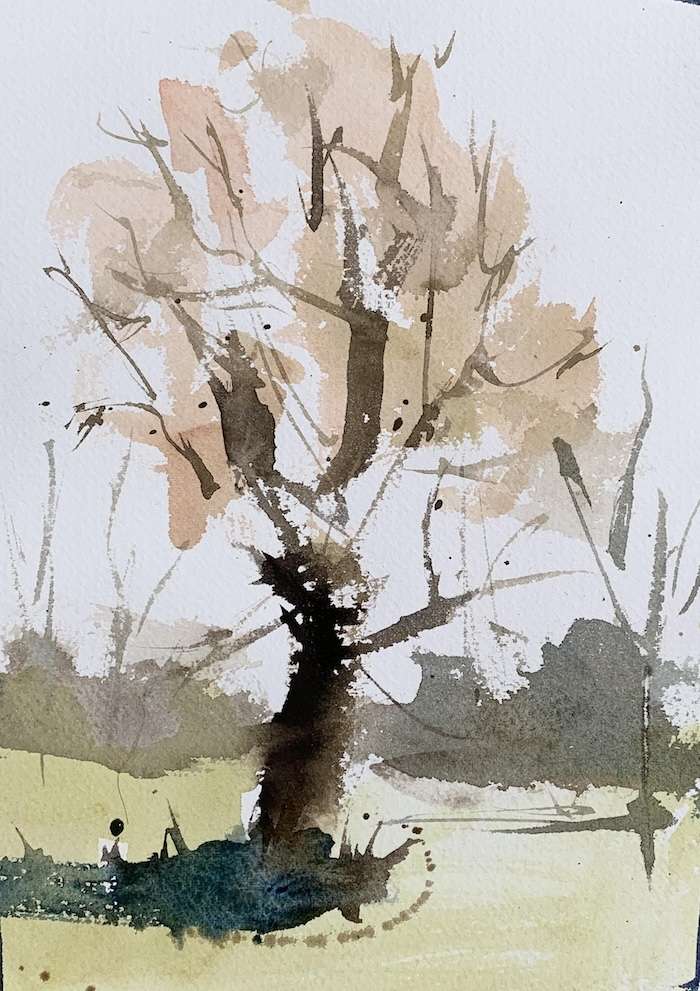
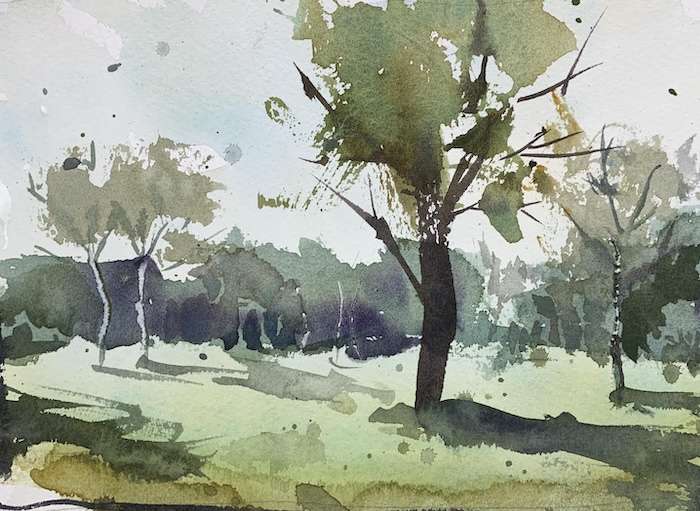
Explore More Beginner Friendly Tree Example
Embark on a captivating artistic journey as we explore more beginner-friendly watercolor tree examples, each one a masterpiece waiting to be unveiled. Immerse yourself in the vibrant world of nature’s beauty and let your brushstrokes dance across the canvas.
The Warm Embrace of Autumn
- Begin with a wash of yellow ochre to establish the overall shape and warmer tones.
- Add Windsor blue in the areas of core shadow to establish cooler tones, creating a harmonious contrast.
- Build up the relationships between warm and cool tones, adding more yellow ochre and Windsor blue.
- Incorporate a mix of yellow ochre, Windsor blue, and raw umber to indicate local color and texture, breathing life into the autumnal splendor.
The Fiery Blaze of Crimson Leaves
- Start with a mix of Windsor red and yellow ochre for the lighter, warmer tones, capturing the essence of a fiery autumn day.
- Add a mix of Windsor blue and yellow ochre for the shadowed areas, creating depth and dimension.
- Continue to build up the contrast between light and dark values, allowing the crimson hues to dance across the canvas.
The Serene Whispers of Spring
- Begin with a mix of Windsor yellow and a touch of Windsor blue for the lighter, warmer tones, evoking the gentle embrace of spring.
- Add a mix of Windsor blue and a touch of Windsor yellow for the mid-tones and shadows, creating a harmonious symphony of colors.
- Use a cooler, darker mix for the trunk and branches, and to create a cast shadow, grounding your masterpiece in nature’s tranquility.
Unleash your creativity and explore the boundless possibilities of watercolor tree painting. Whether you’re capturing the warm embrace of autumn, the fiery blaze of crimson leaves, or the serene whispers of spring, each brushstroke will be a testament to your artistic prowess.
Conclusion
Watercolor tree painting is a captivating journey that enables us to capture the essence of nature’s beauty on canvas. Through the exploration of various techniques, materials, and tree examples, we have discovered the boundless potential of this artistic medium. Whether you are a beginner or an experienced artist, the joy of creating vibrant and textured landscapes with watercolors lies in the delicate dance between brush and pigment.
As you continue to hone your skills and experiment with different styles, remember to embrace the fluidity and spontaneity that make watercolor painting so unique. Each brushstroke holds the power to breathe life into your artistic visions, transforming blank canvases into captivating scenes that evoke emotions and transport viewers into the embrace of nature’s splendor. Embark on this creative journey with an open heart and an unwavering passion, for it is through perseverance and a willingness to learn that true mastery is achieved.
FAQs
Q: What are the steps to painting a Christmas tree with watercolors for someone just starting out?
A: The specific steps are not provided, but as a beginner, you would likely start with simple techniques and build up layers of color to create the shape and texture of a Christmas tree.
Q: What are the fundamental watercolor techniques for beginners?
A: The two most basic techniques in watercolor painting are wet-on-wet and wet-on-dry. The wet-on-wet technique involves applying wet paint onto wet paper, which allows the colors to blend and flow into one another. The wet-on-dry method involves painting with wet paint onto dry paper, which provides more control and produces sharper edges.
Q: In watercolor painting, which colors should be applied first?
A: When painting with watercolors, it is important to start with the lightest colors and gradually progress to darker ones. This is because the white in watercolor paintings comes from the paper itself, and lighter colors will not stand out if they are applied over darker shades due to the transparent nature of watercolor paints.
Q: How can you create a pine tree using watercolor paints?
A: Instructions for painting a watercolor pine tree are not provided here, but typically, the process would involve using specific brush strokes to mimic the needles and branches, layering various shades of green, and possibly adding details for depth and realism.
